 So, my daughter takes after me… Just a little bit :) I was looking at THIS tutorial for mug rugs simply because I like the blog and I’m about to leave for my 5 day quilt retreat and I’m looking at fabric inspiration… I also LOVE mug rugs and Bernatex did a whole week long blog hop with different patterns!! Kathryn is looking over my shoulder…. So, she naturally decides that she “needs” to make stuffed hearts for her class for Valentine’s Day… ’cause you know, you can’t BUY Valentines like everyone else… No, we HAVE to make them… Of course, it would certainly not be good enough to make little stuffed hearts… No, I have the “brilliant” idea that we’ll make little stuffed hearts with pockets!!! Yes, yes, that’s brilliant!!! Little hearts with pockets that we can stuff with candies!!! ’cause, you know, we have nothing else to do this week :) Instead of cleaning the kitchen, we’ll haul both our sewing machines, cutting mats, fabric, iron, ironing board and all the other fun stuff we can craft with and totally mess up the kitchen :) Clean kitchen tables are overrated :)
In other words, we really know how to have a good time on a Sunday afternoon :)
Saturday, we went to our favorite fabric store (Bits and Pieces in Pelham, NH), and Kathryn picked out fabrics to use (fat quarters in various colors) and I got some fusible batting to use. You could use anything for the “stuffing” but where Kathryn was going to do a lot of the sewing I thought it would easier for her if we didn’t have the batting moving around while she was trying to sew around those curves.
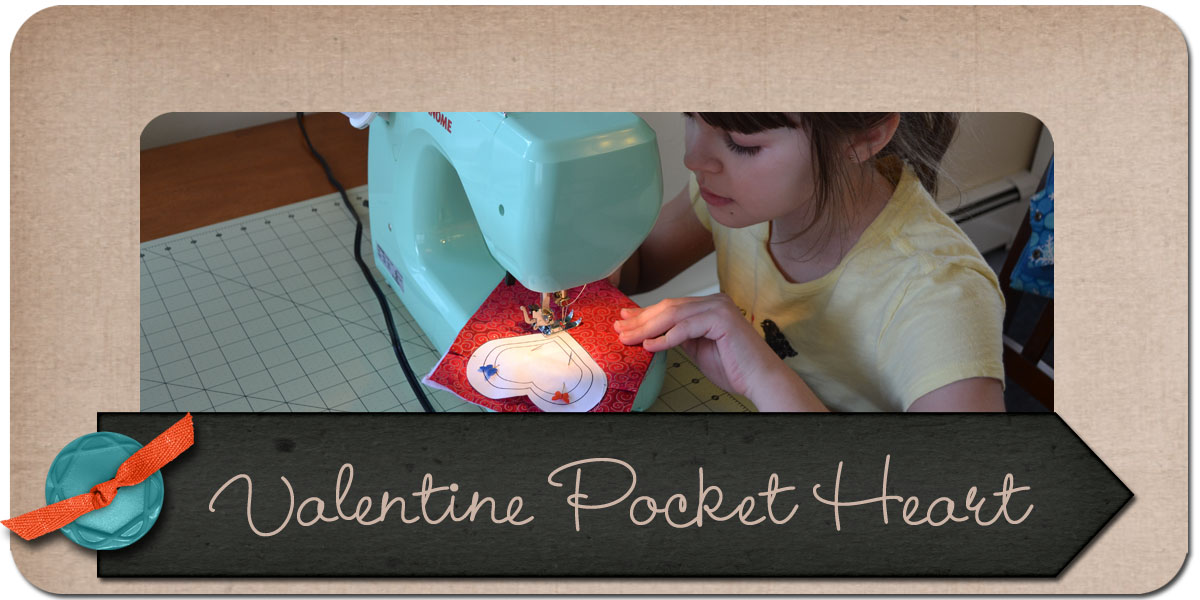
These adorable pocket hearts were actually very easy to make… I did all the ironing and cutting, and Kathryn did most of the sewing herself. I thought it would be fun to make up a little tutorial and took some pictures as we went along.
Materials:
- Fat Quarters, or scraps of fabric each pocket heart used 3 pieces of fabric about 5.5″ square.
- Batting-we used fusible, but you could use anything that you had on hand, including just fleece, you just need something to give them a little stability.
- Thread-we just used white, but you could use coordinating colors for the fabric you choose.
- Cutting tools-rotary cutter/scissors and pinking shears.
- Candy and/or little notes to put in the pocket.
- Heart template (I used the printable template from THIS mugrug tutorial, but you could certainly make your own, or just freehand sew them. Again, with the 10 year old doing the bulk of the stitching, I opted for printed templates :)
Steps (we made them assembly-line style):
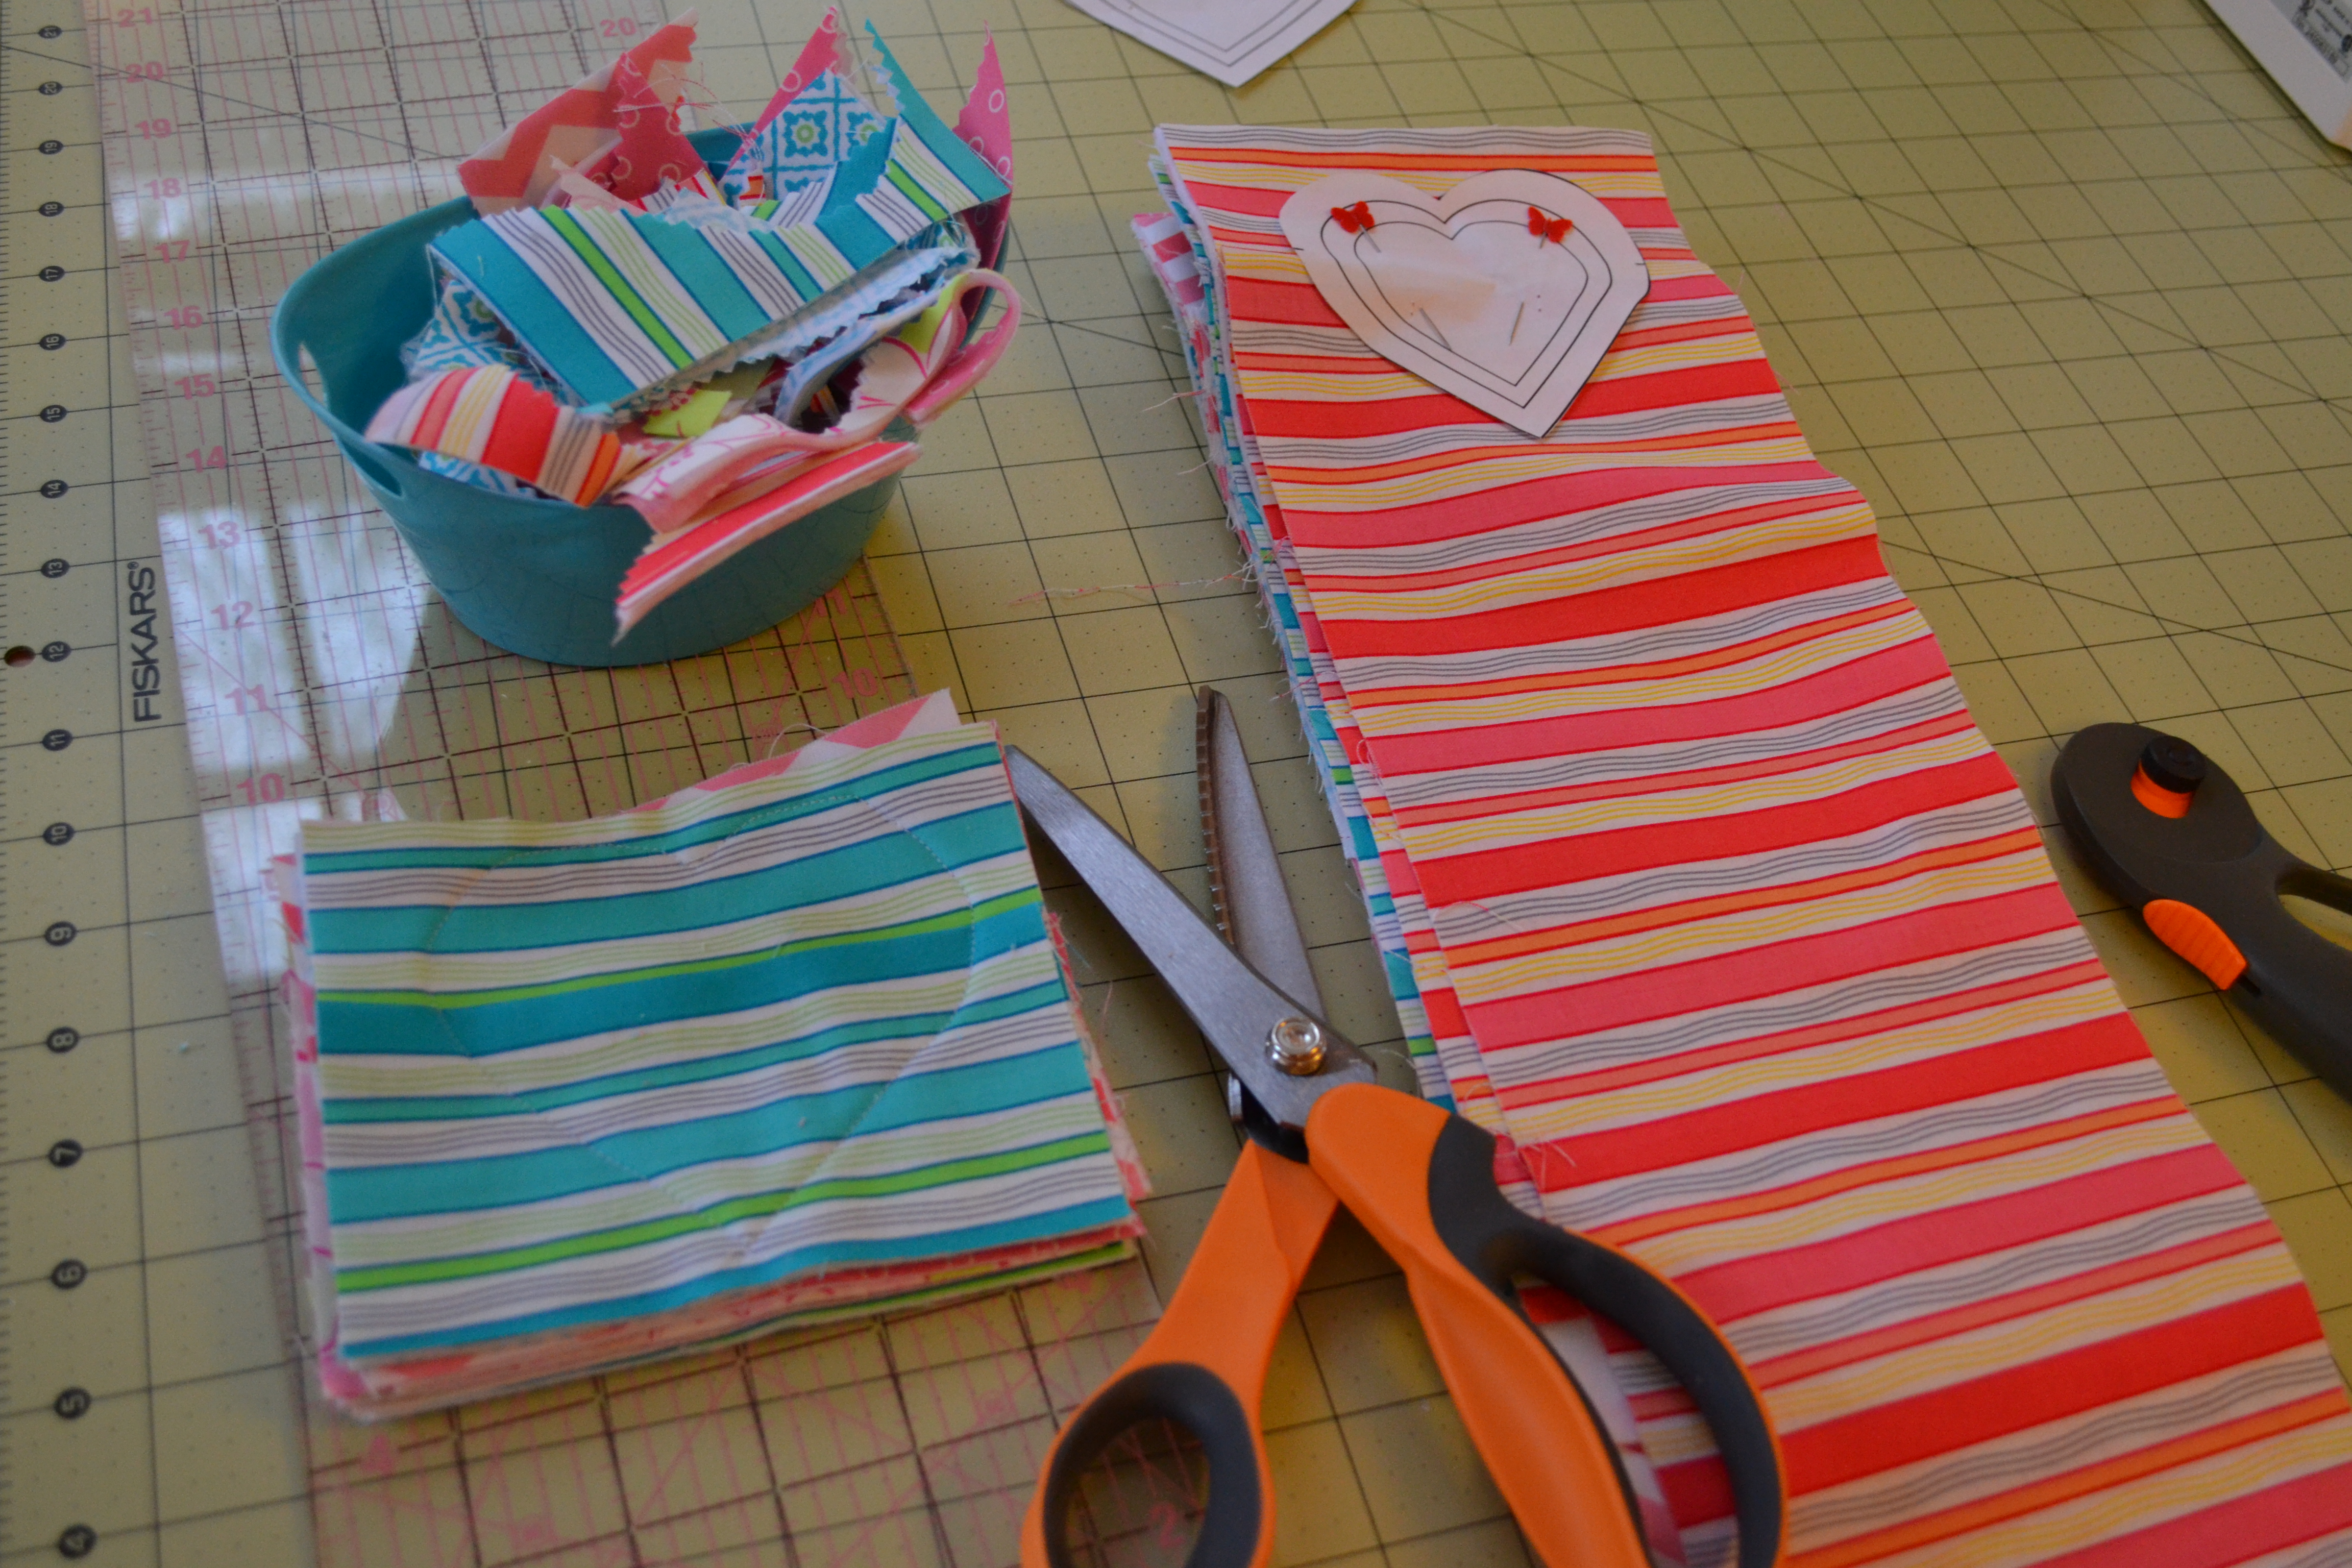
- Cut your fabric into strips of 5.5″ You need 3 strips to make each group of hearts. We used one fabric for the back, and a different fabric for the front and pocket.
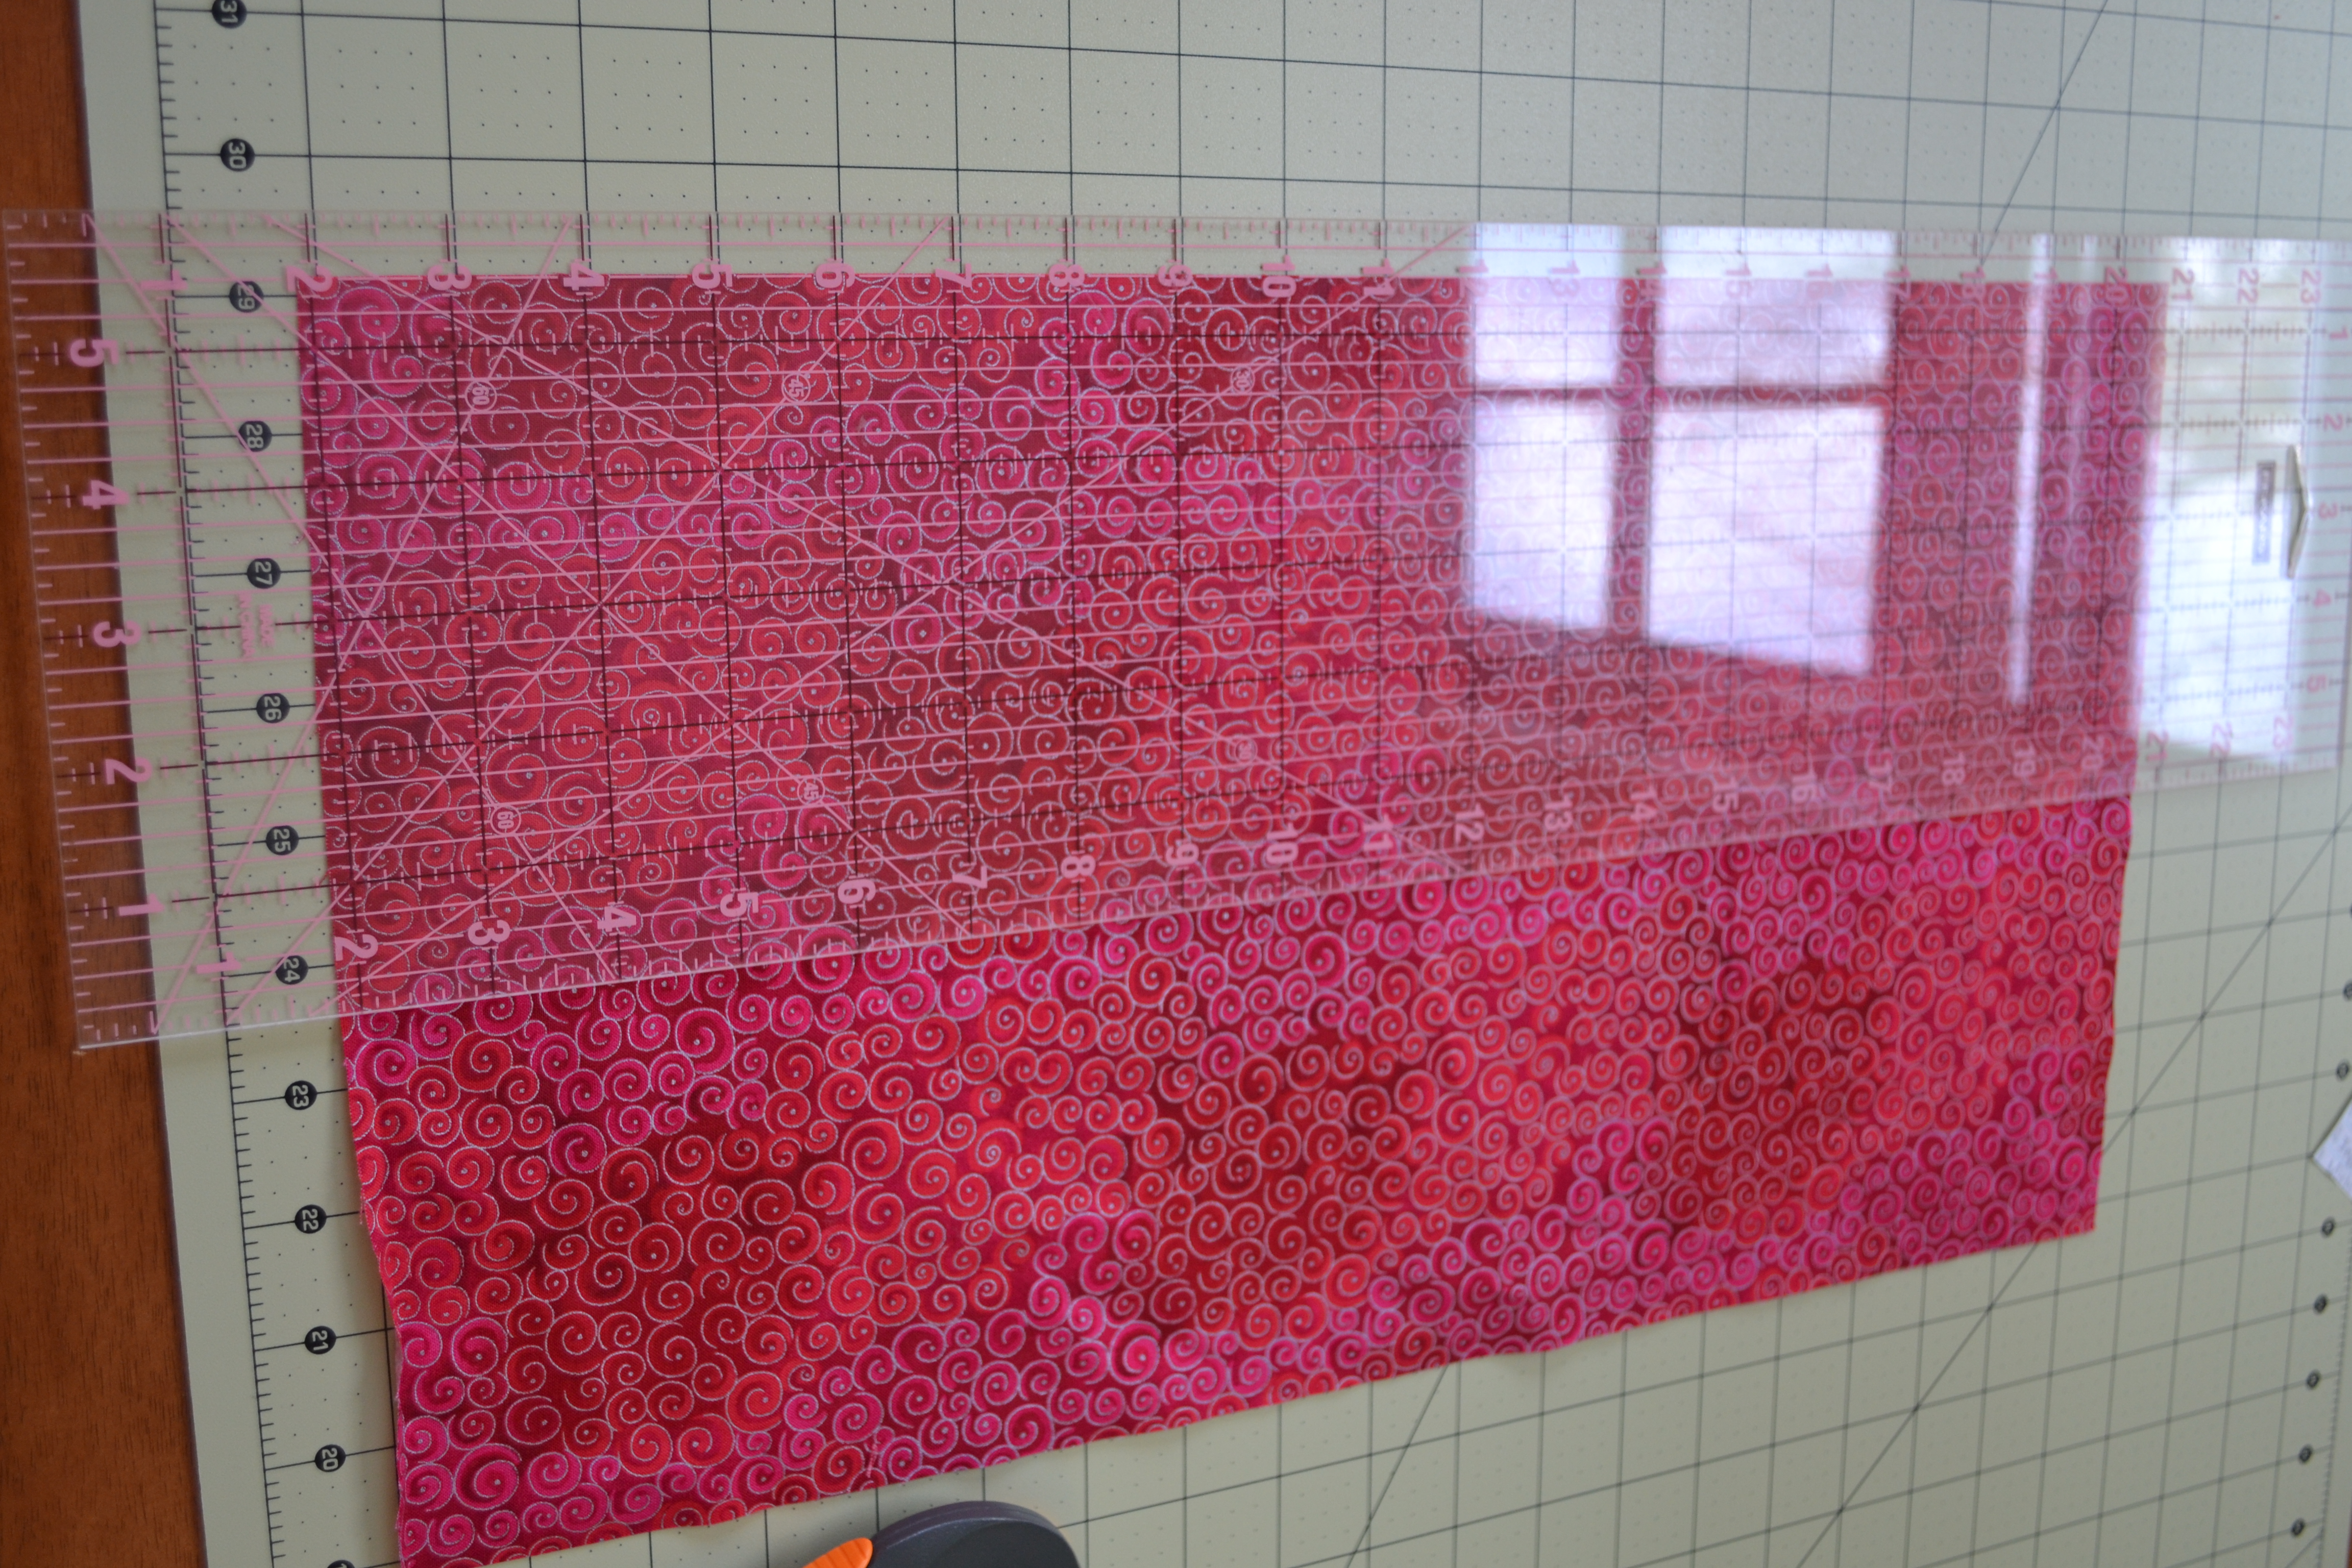
2. Layer your strips, back fabric right side DOWN, batting, front fabric right side UP (I know it’s obvious, but line yours up, the picture is so you can see all the layers :)

3. take the piece you want to use for the pocket and iron over a 1/4″ (to hide the raw edge on the finished heart) no need to measure, close enough is good enough.
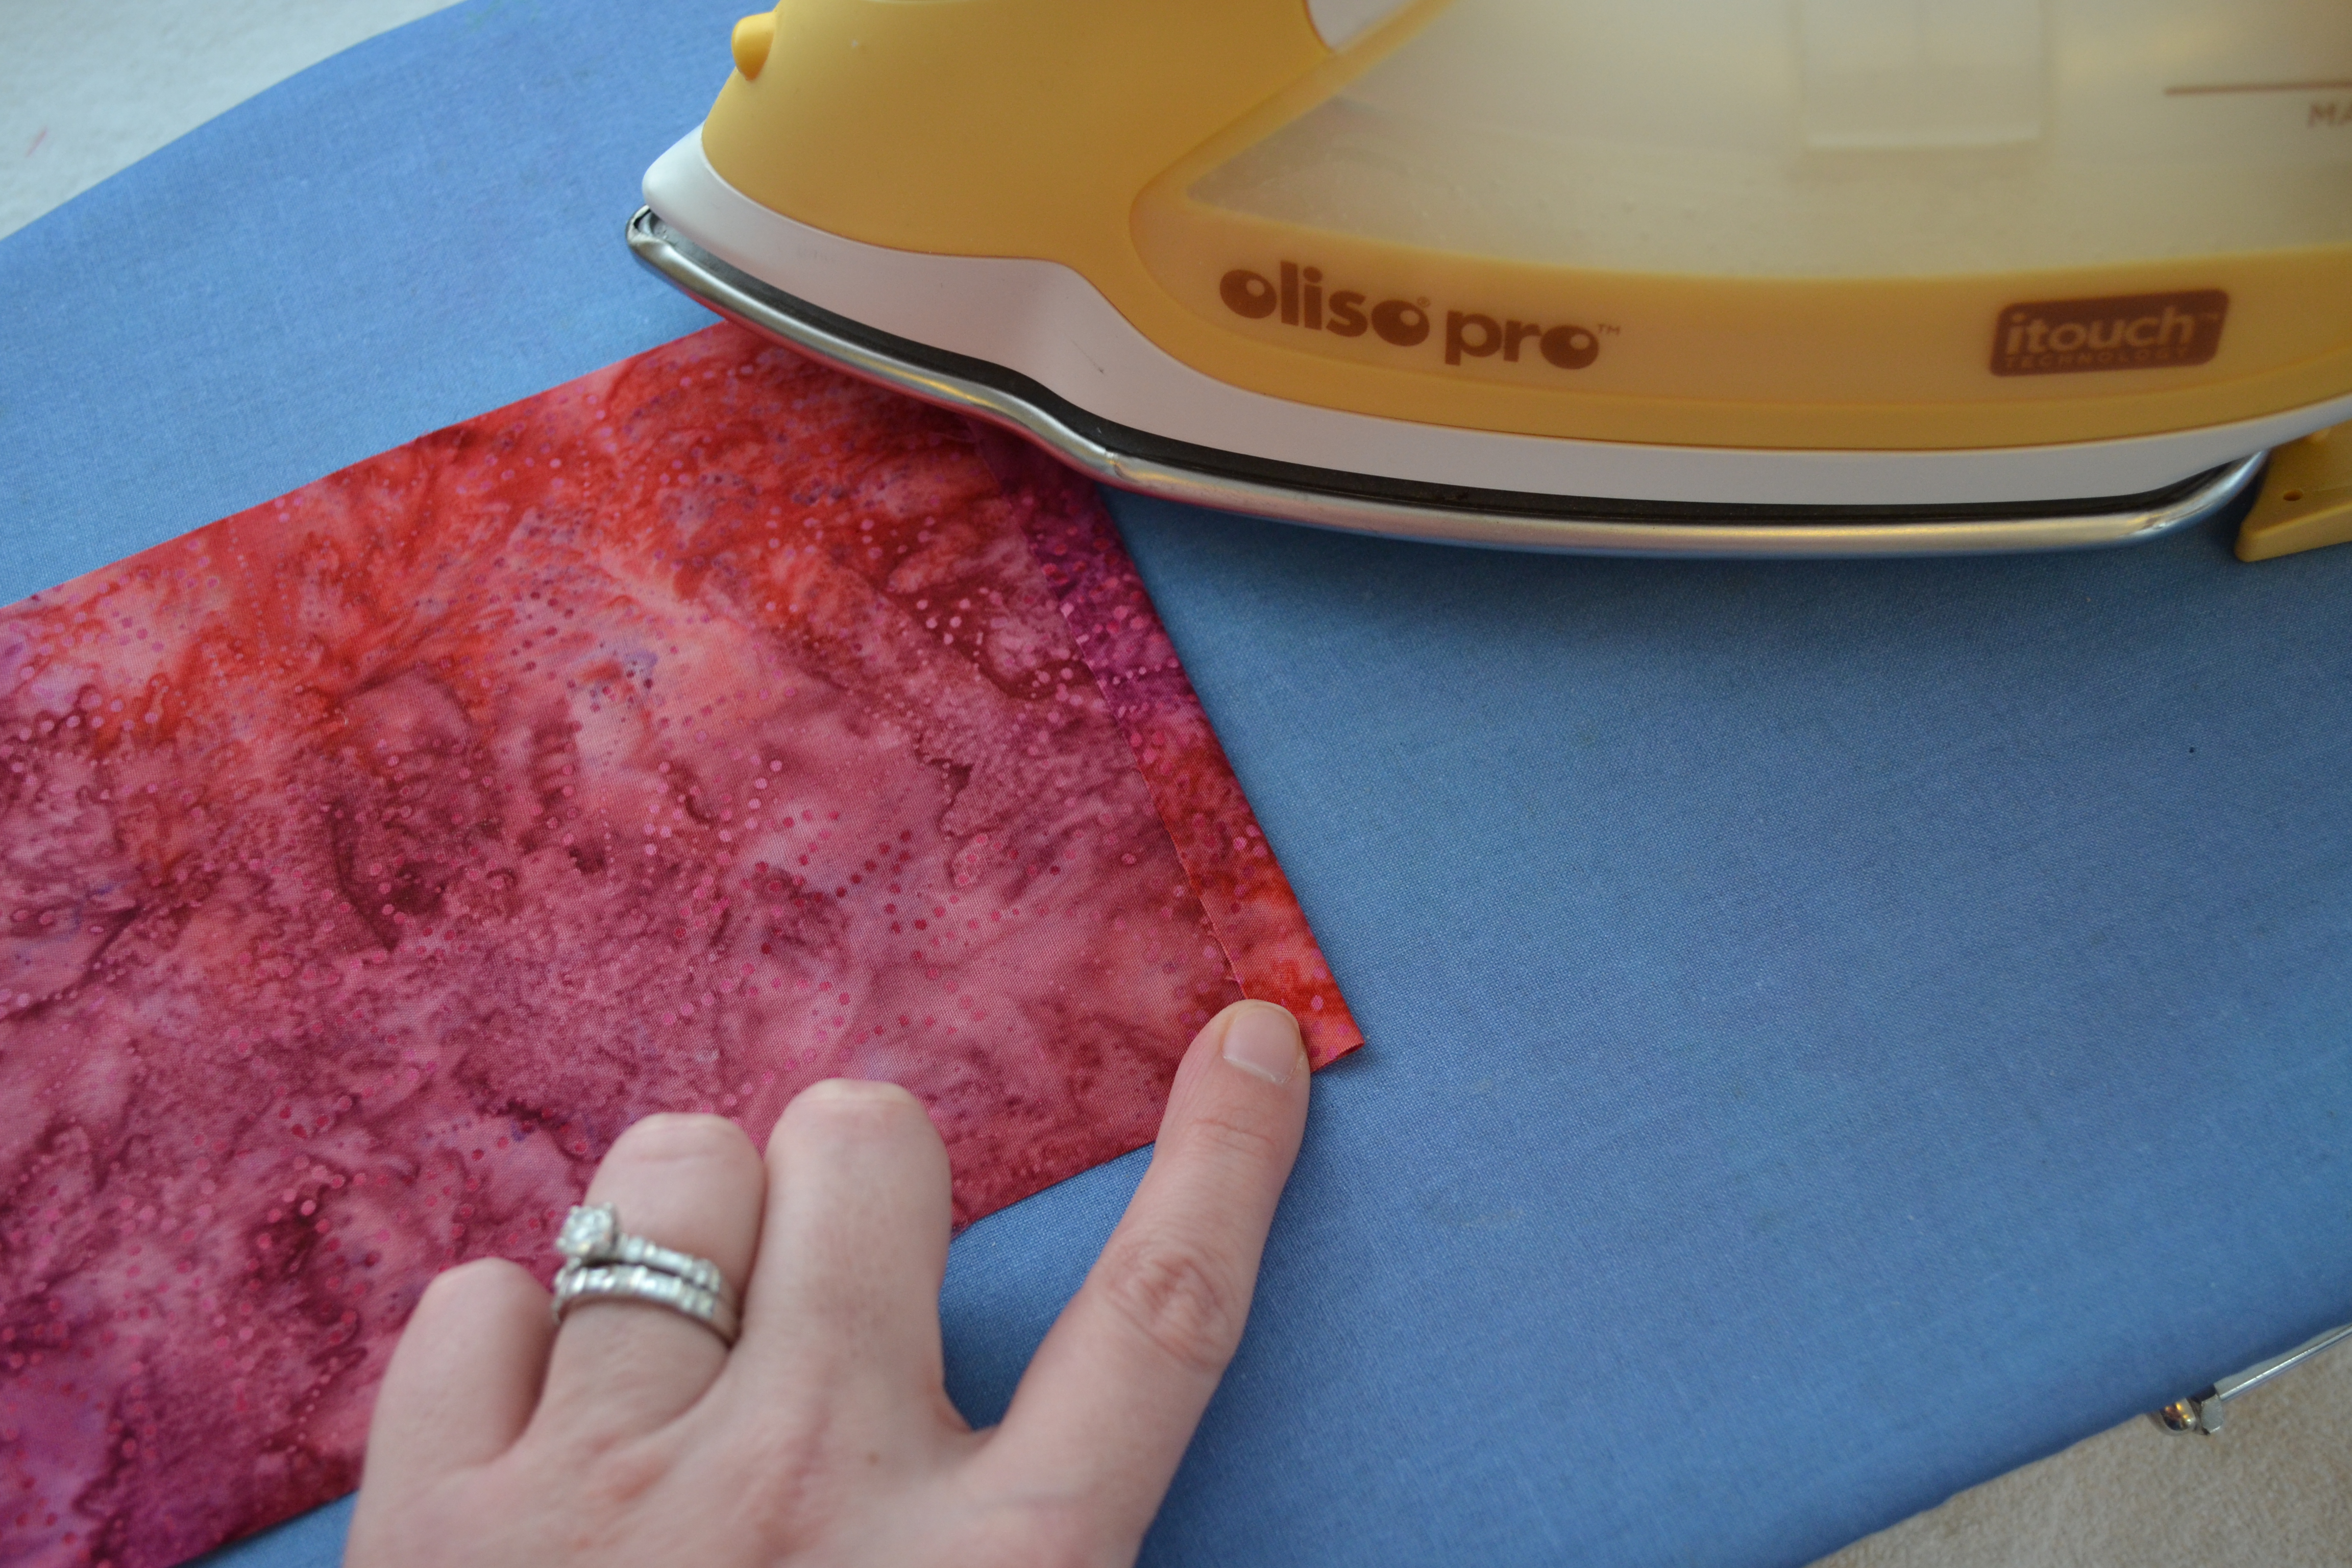
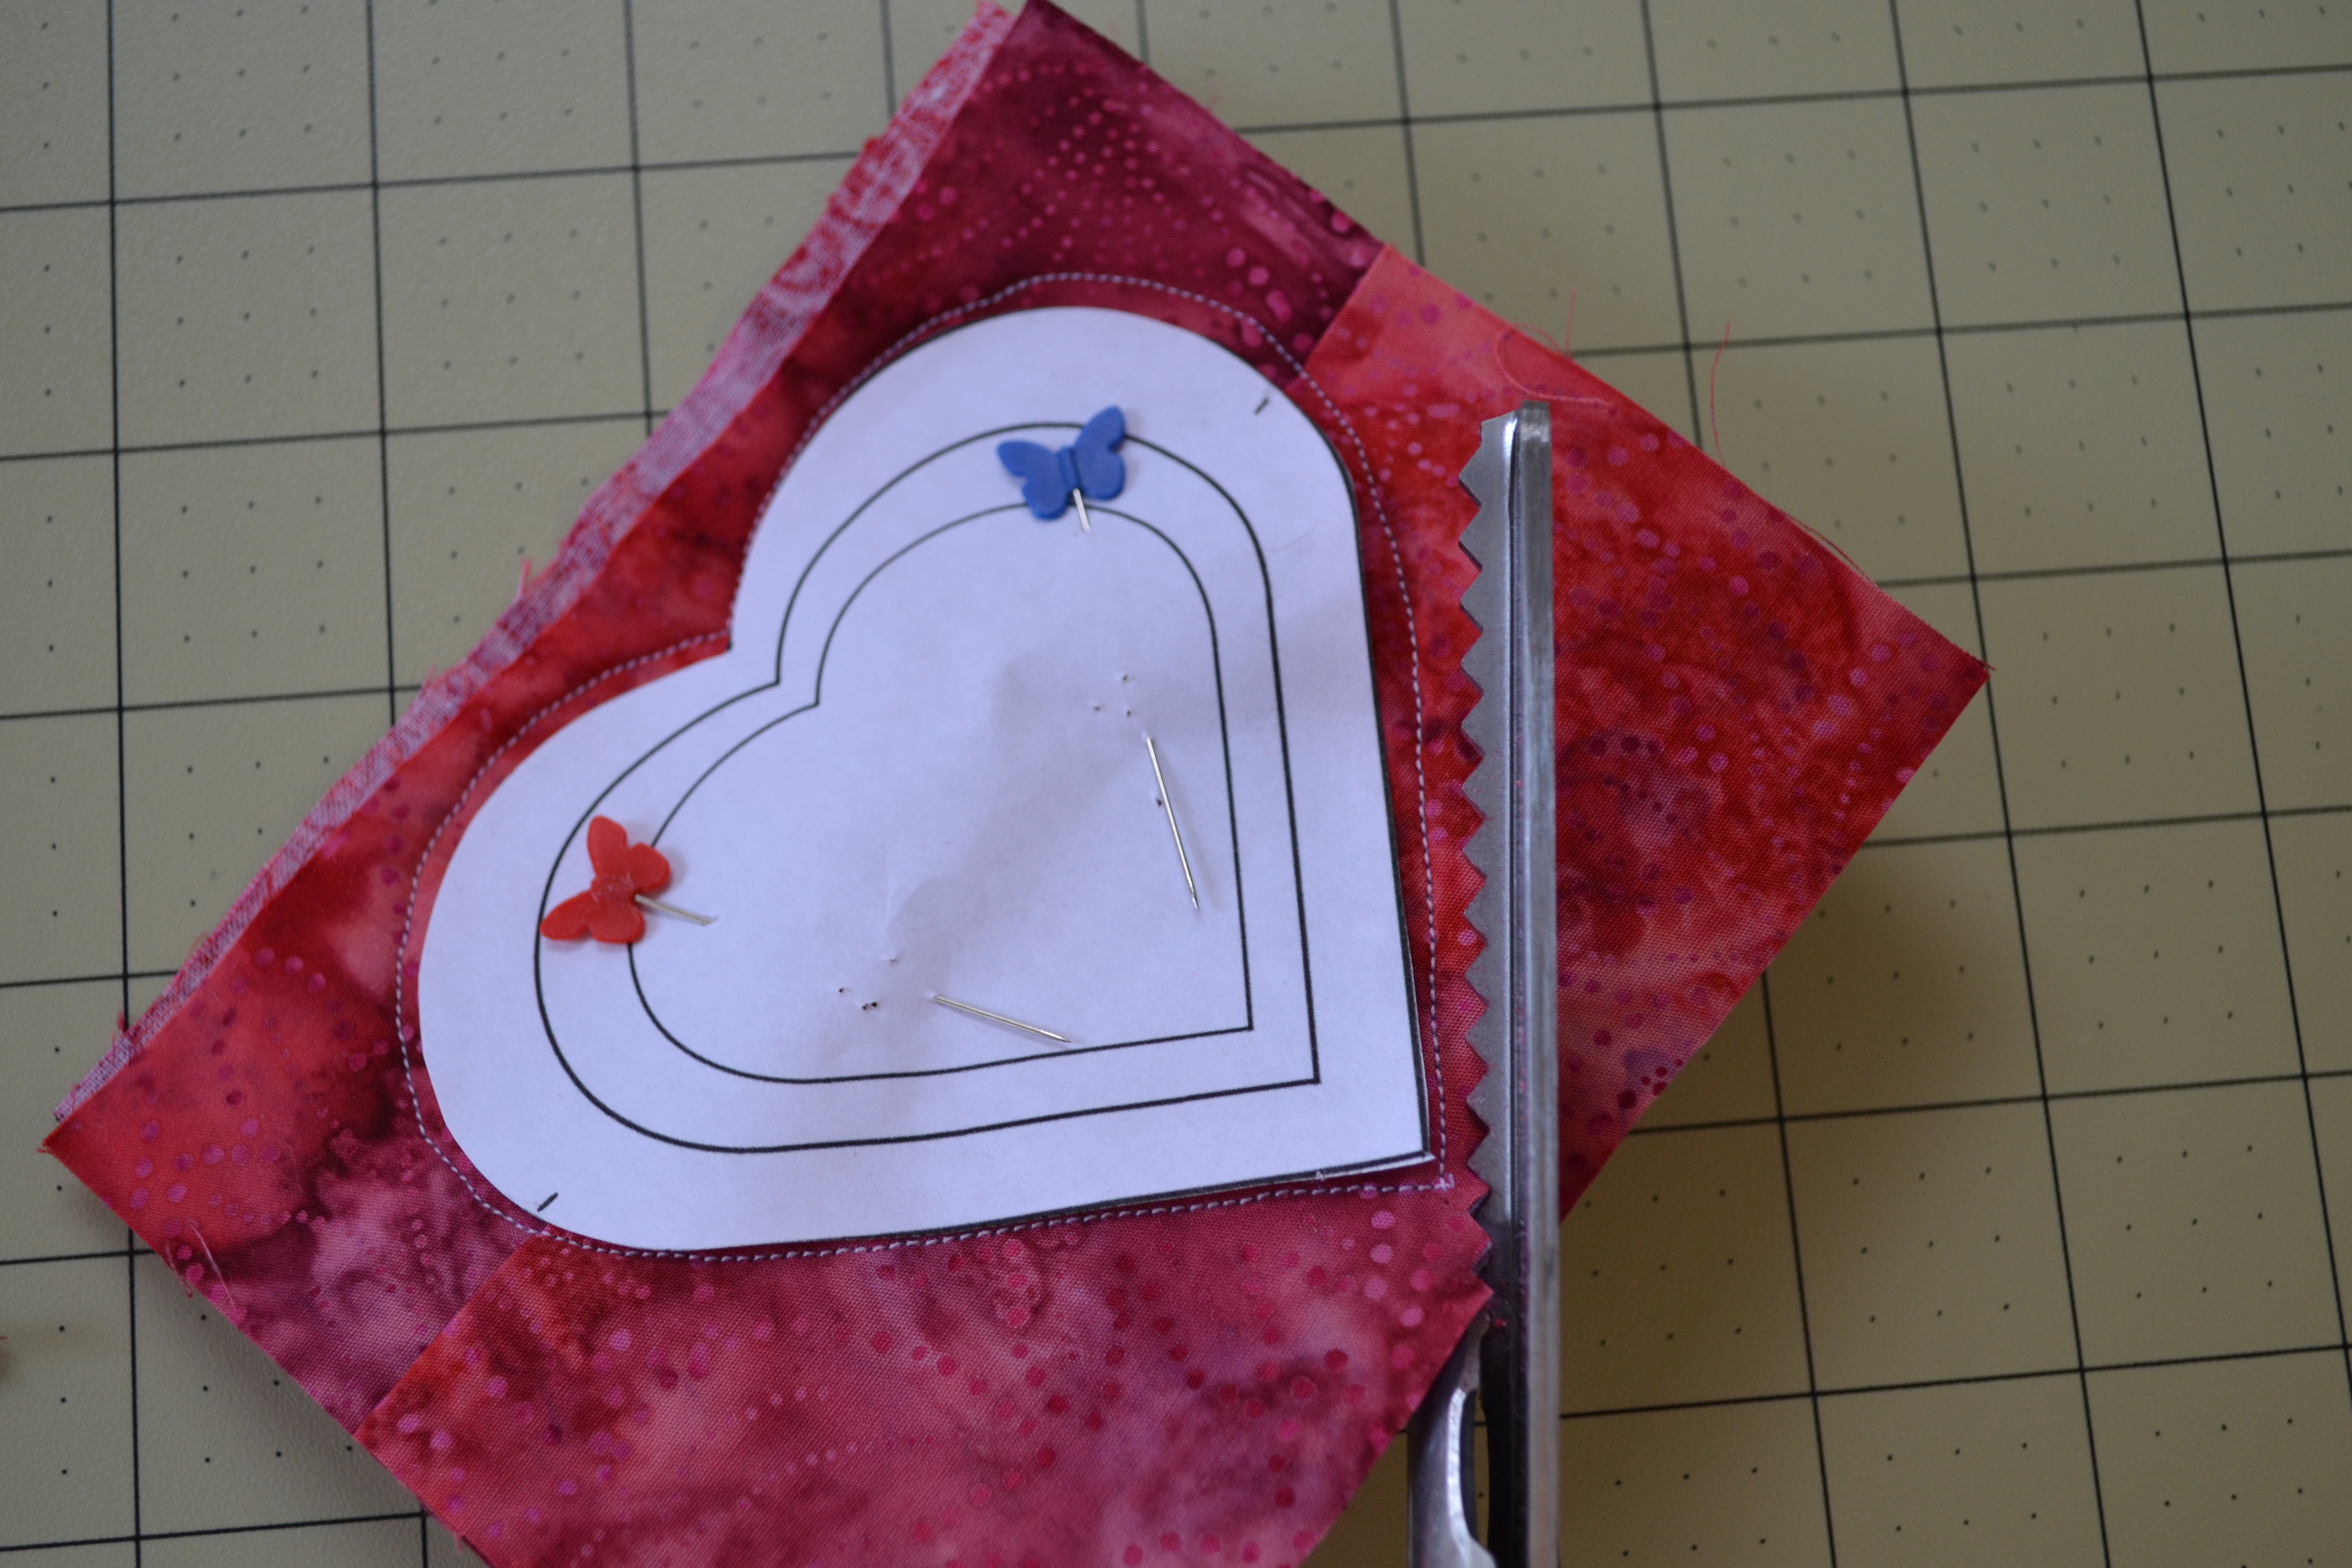
Lay the folded and ironed pocket piece on top of the quilt sandwich you already have and place the folded edge where you want the pocket to be (I marked the templates to make it easier to line them up)
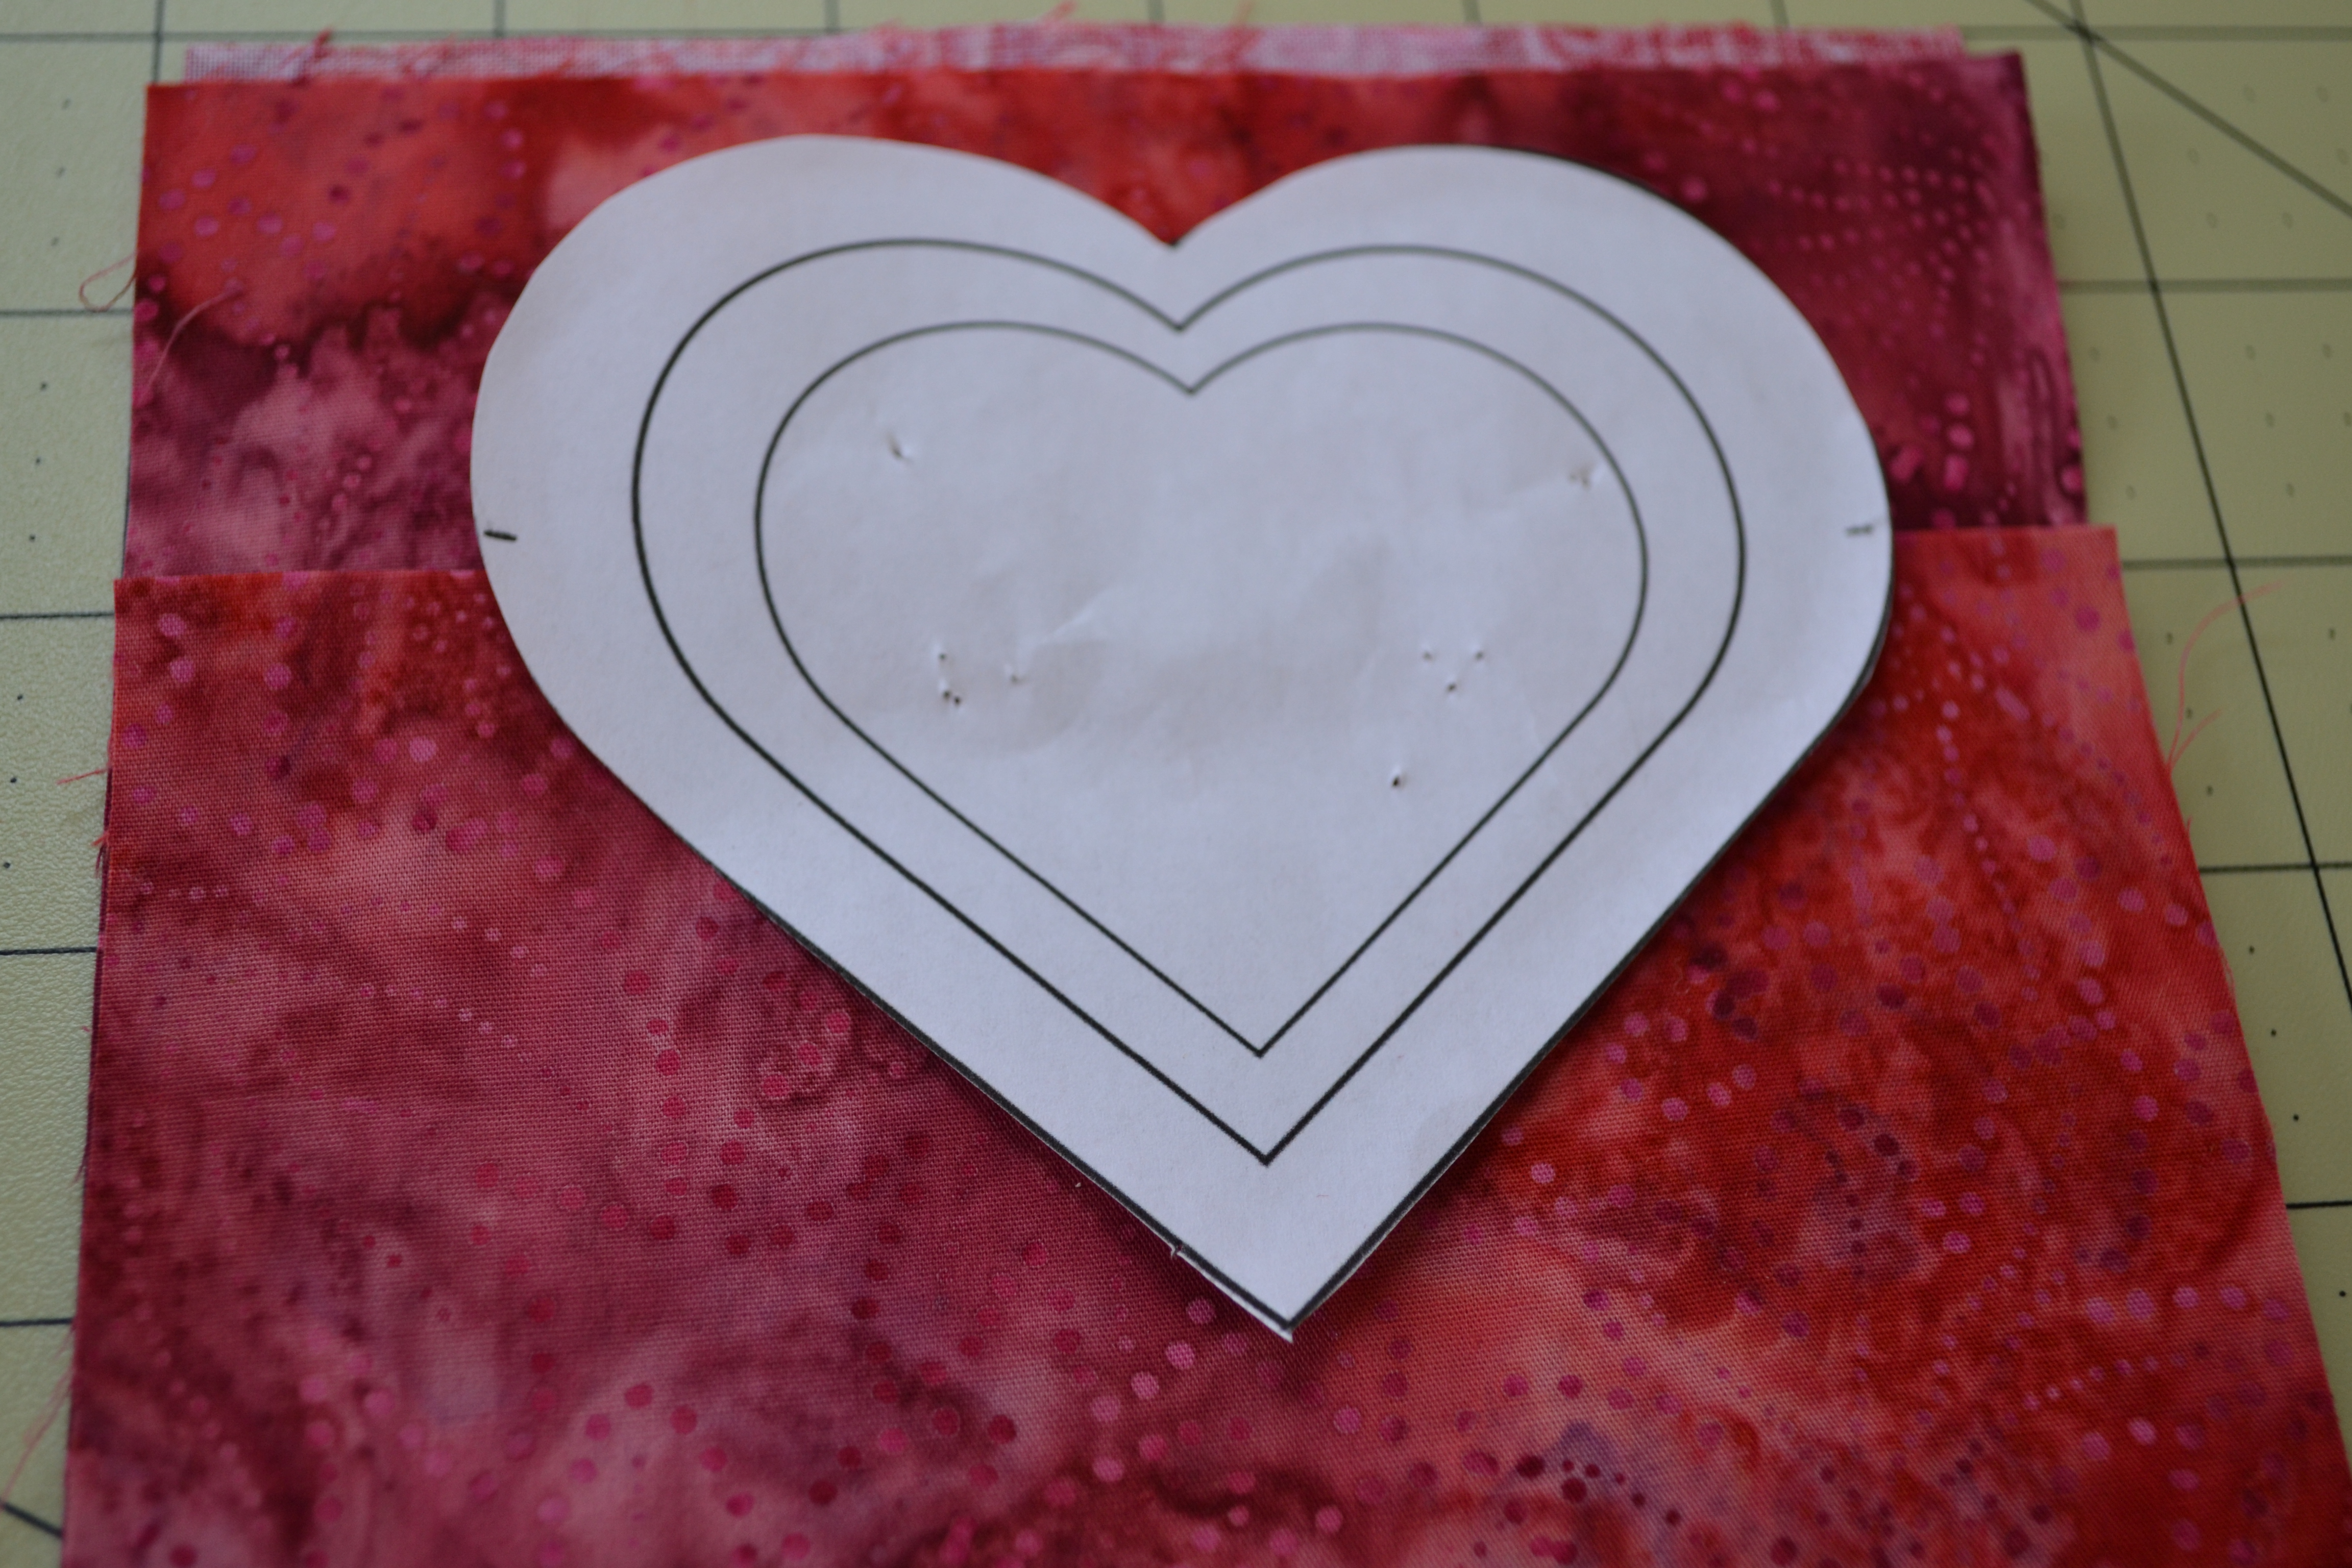
Pin through all the layers
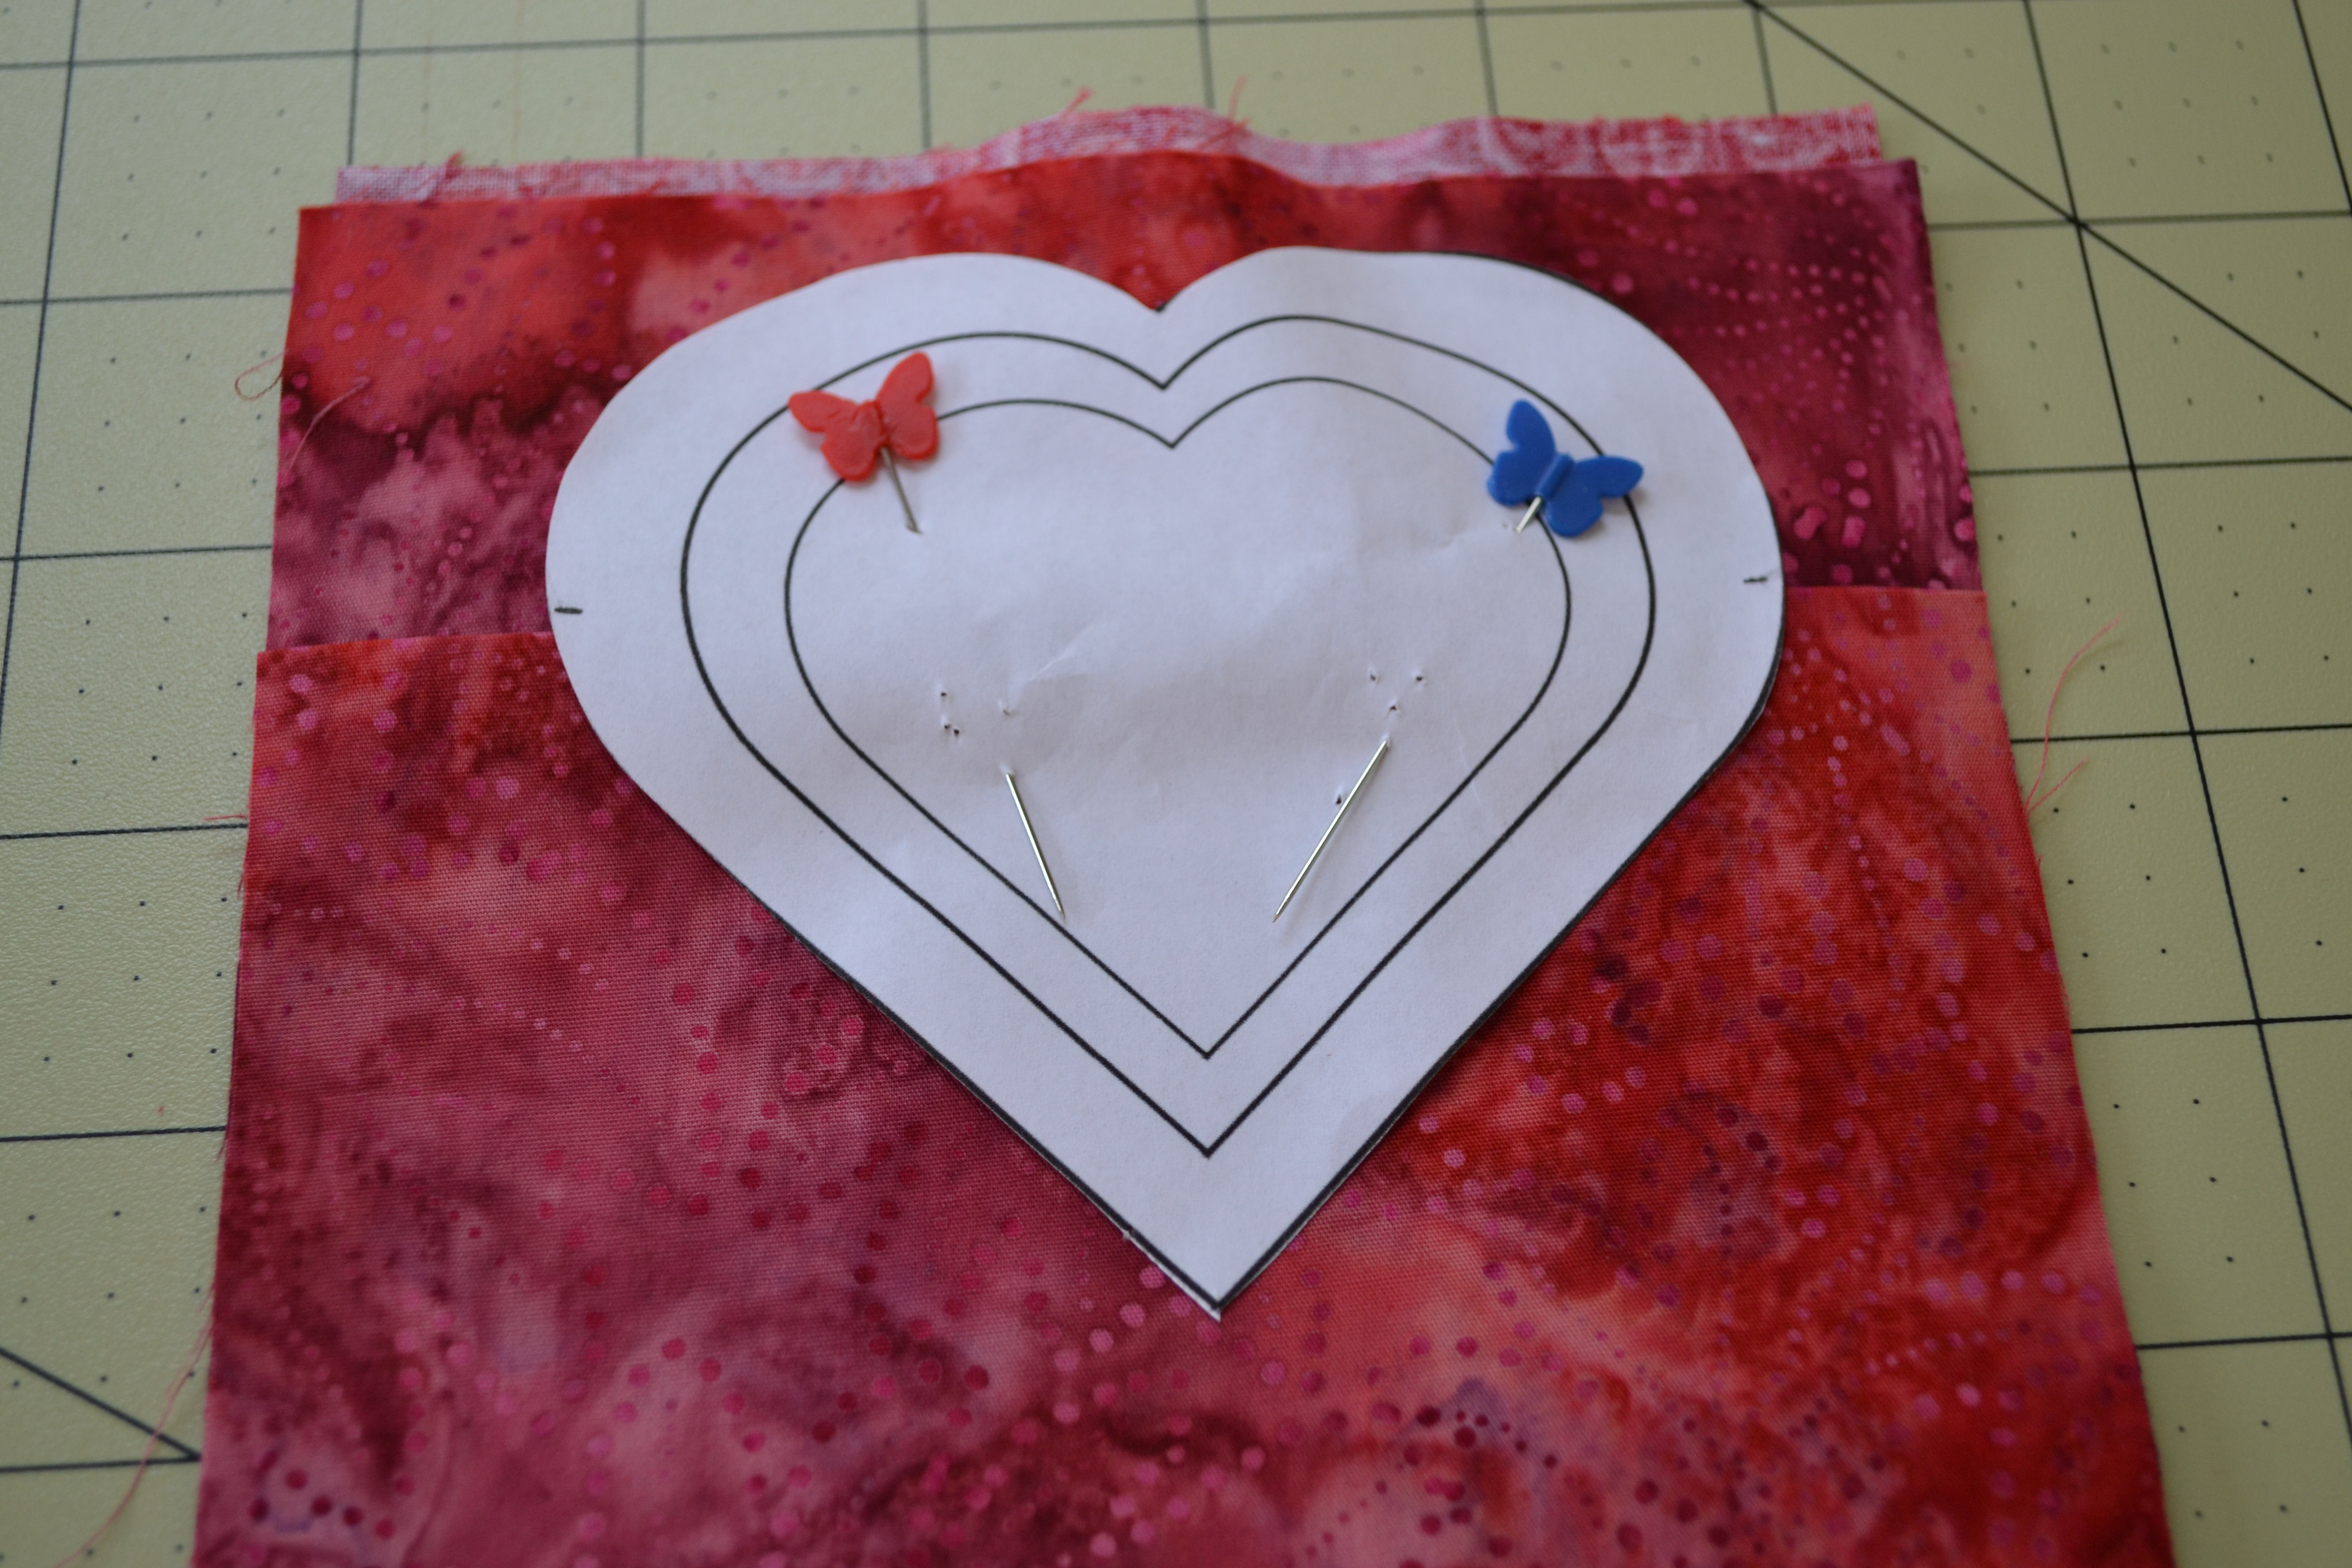
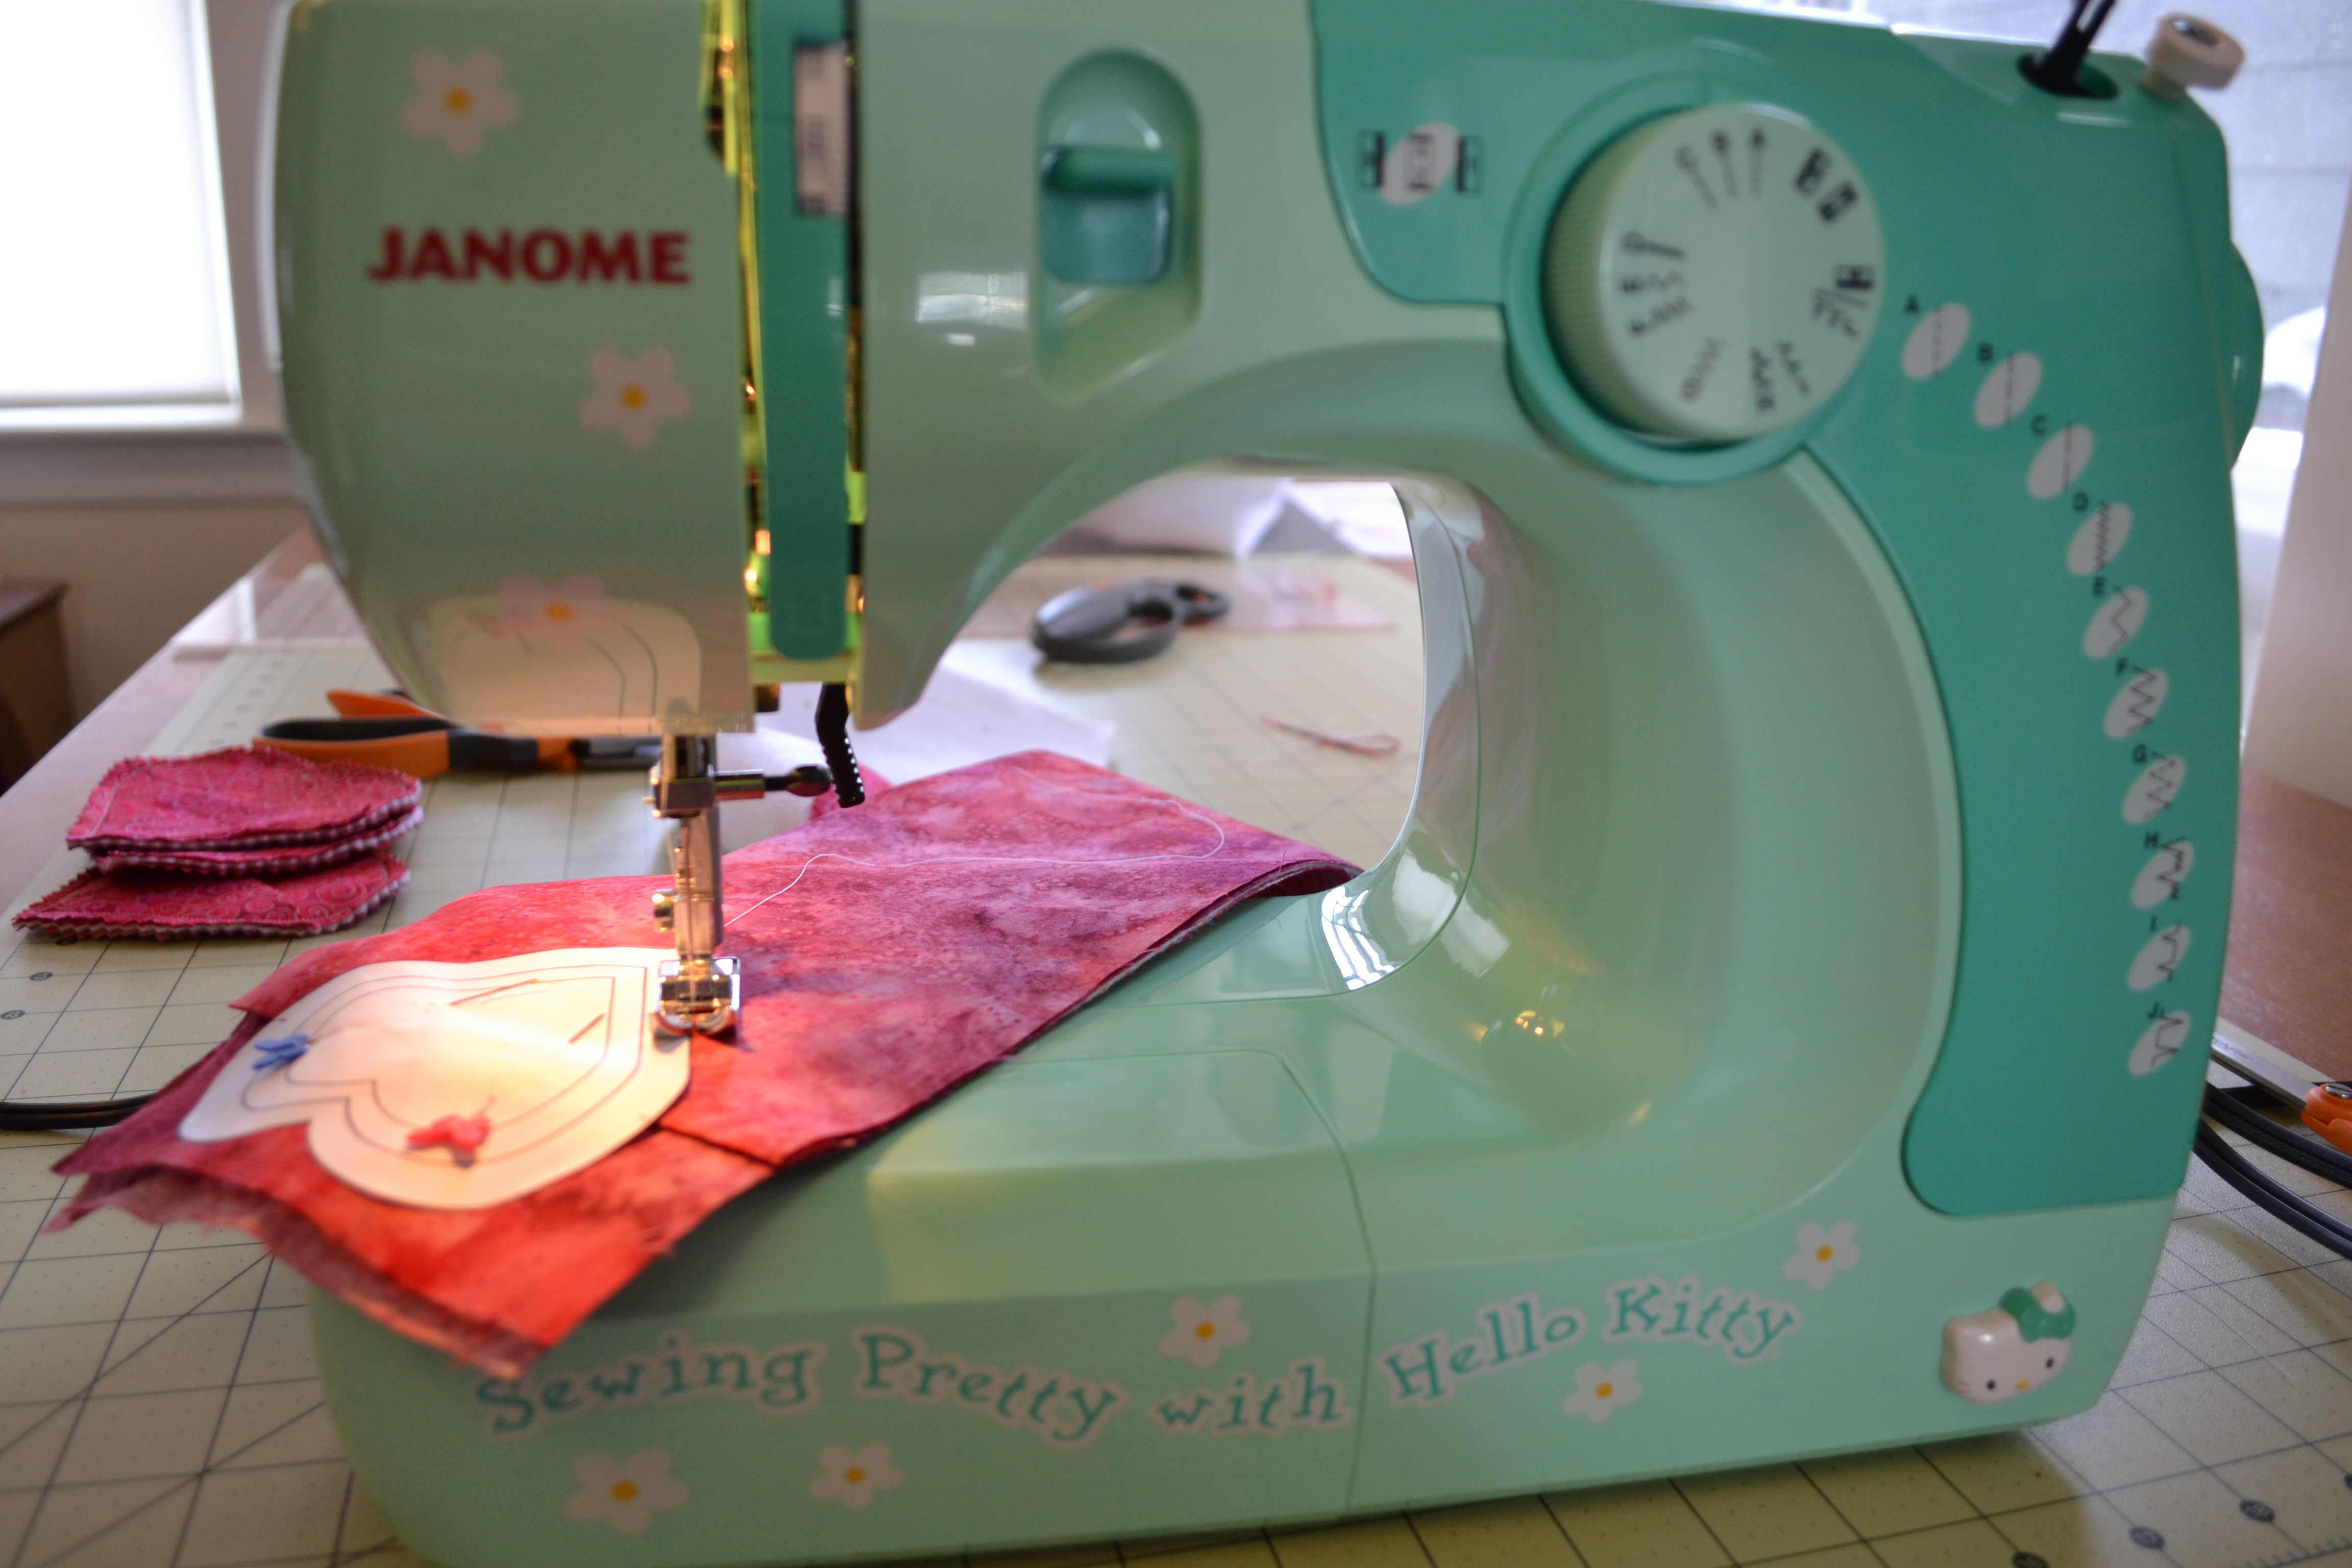
Carefully stitch around the outline of the template, it doesn’t need to be exact. You don’t want to stitch on the paper, and you don’t want to go too far out…
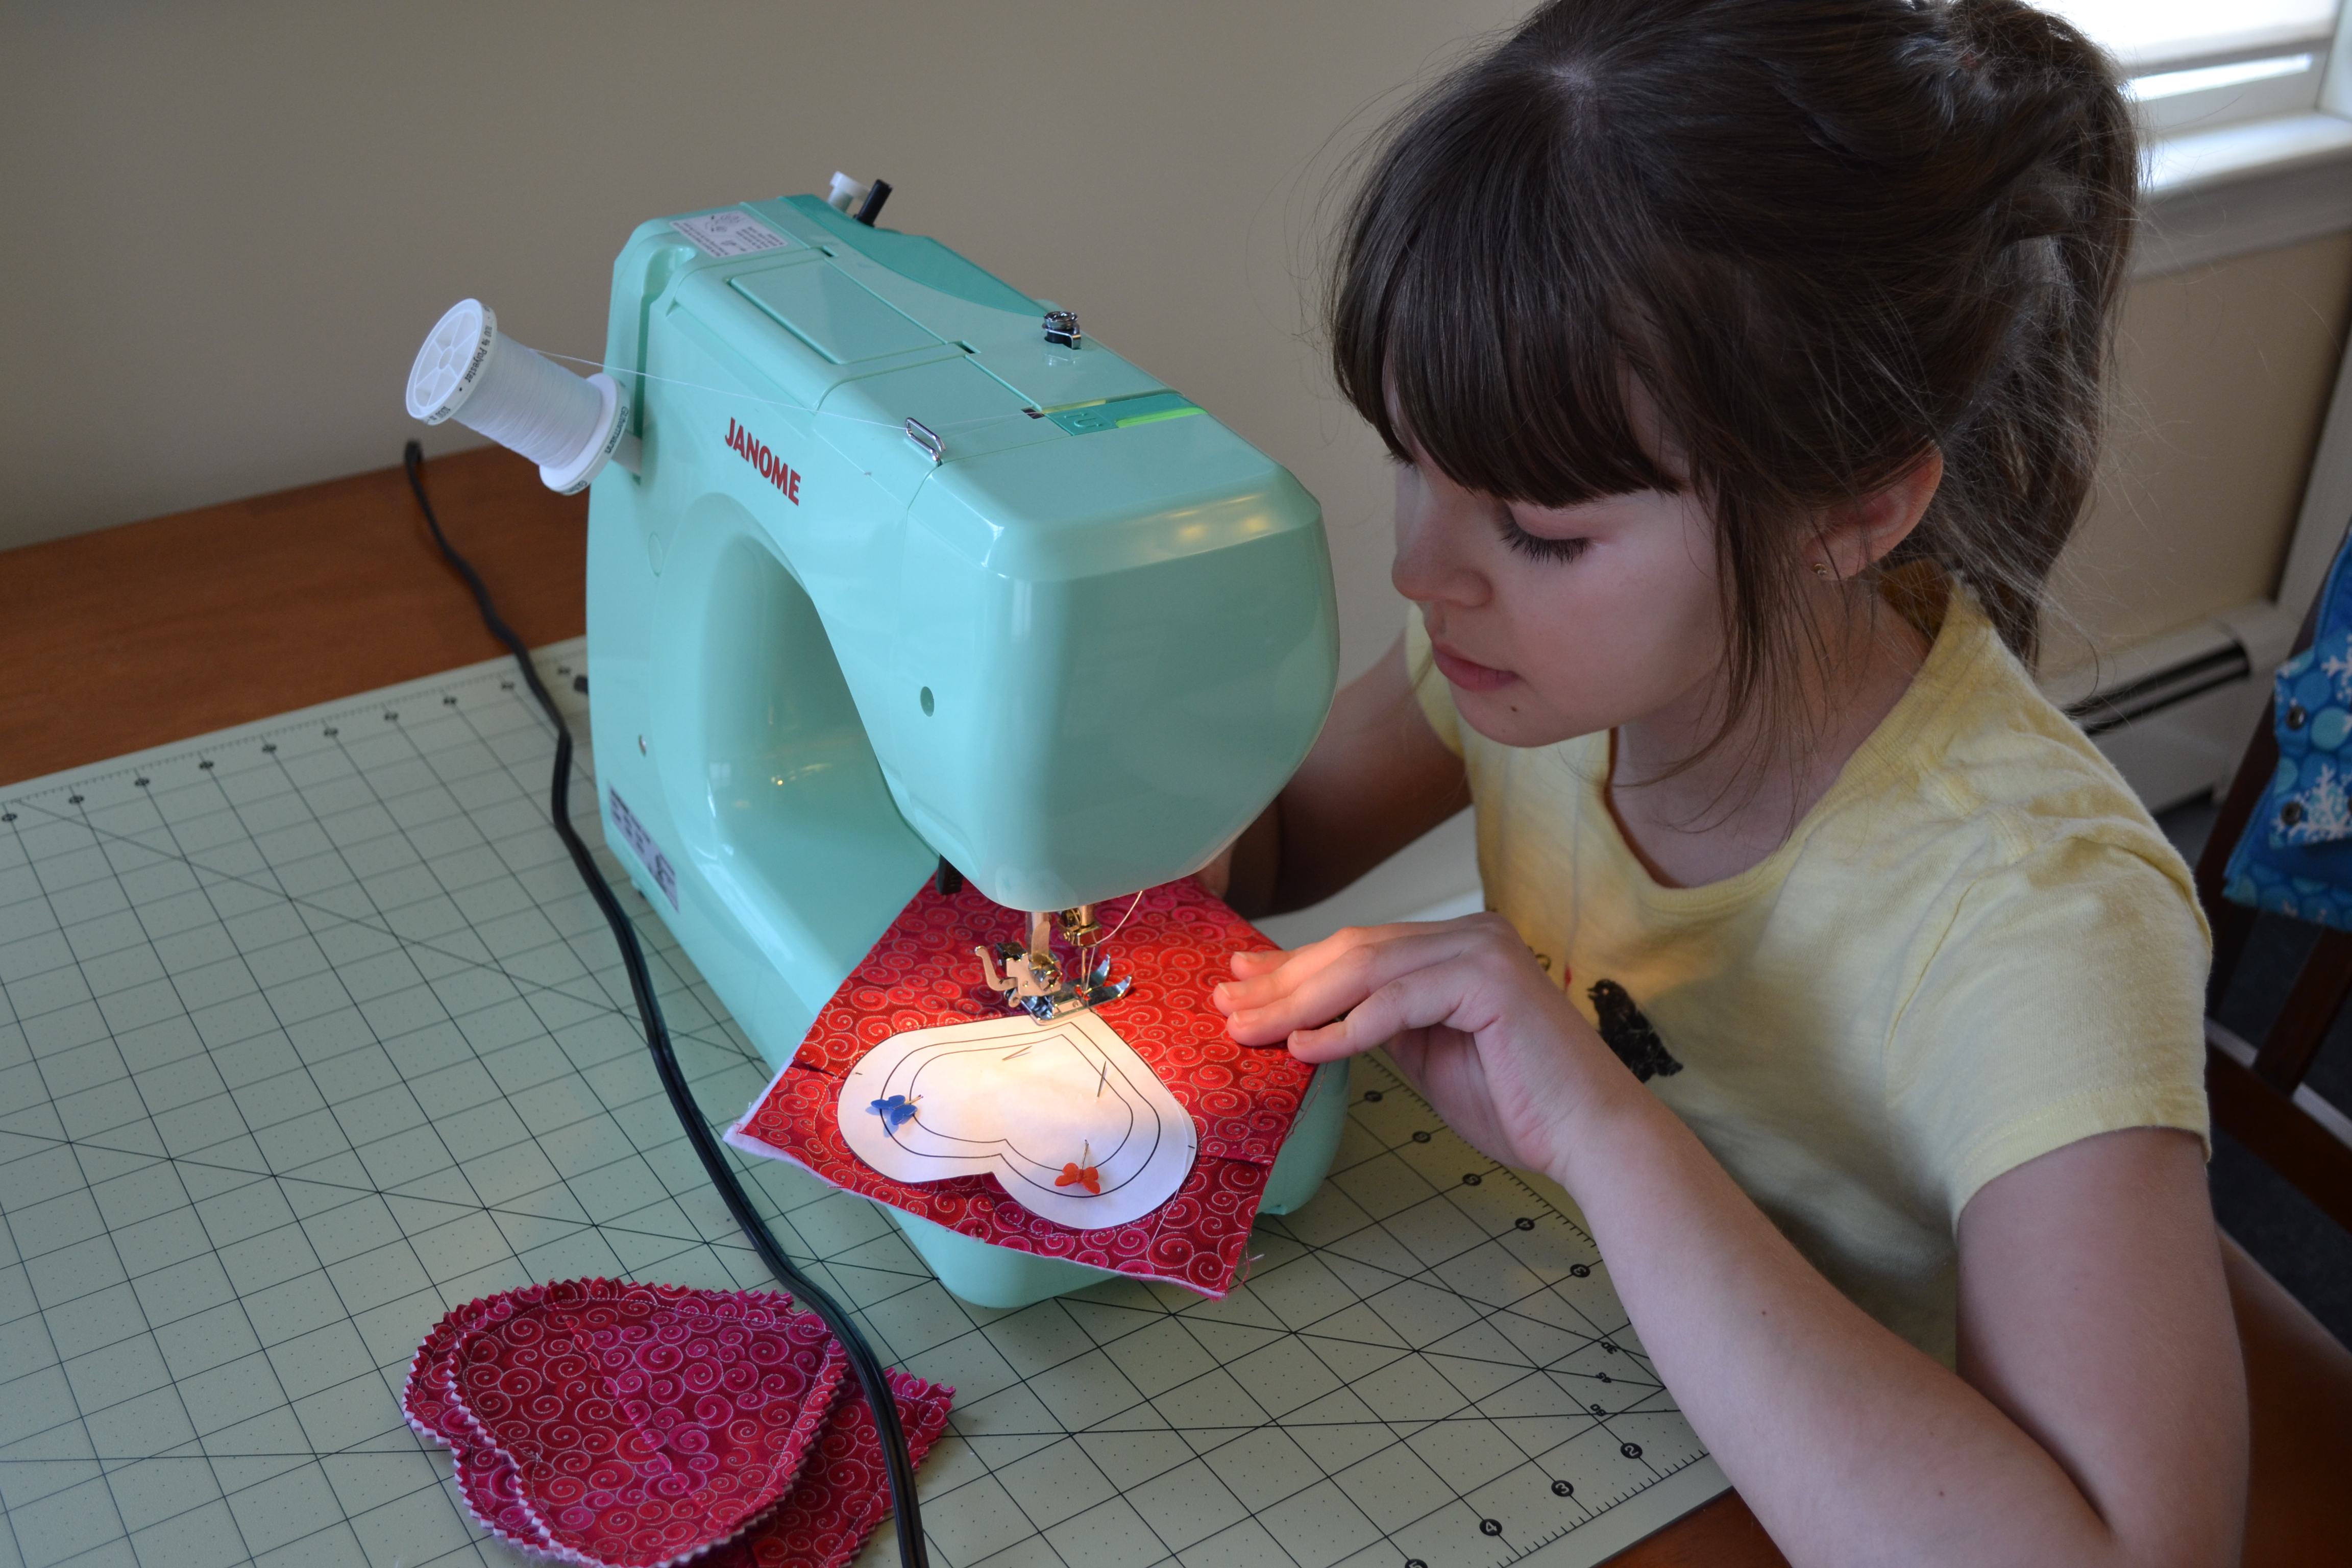
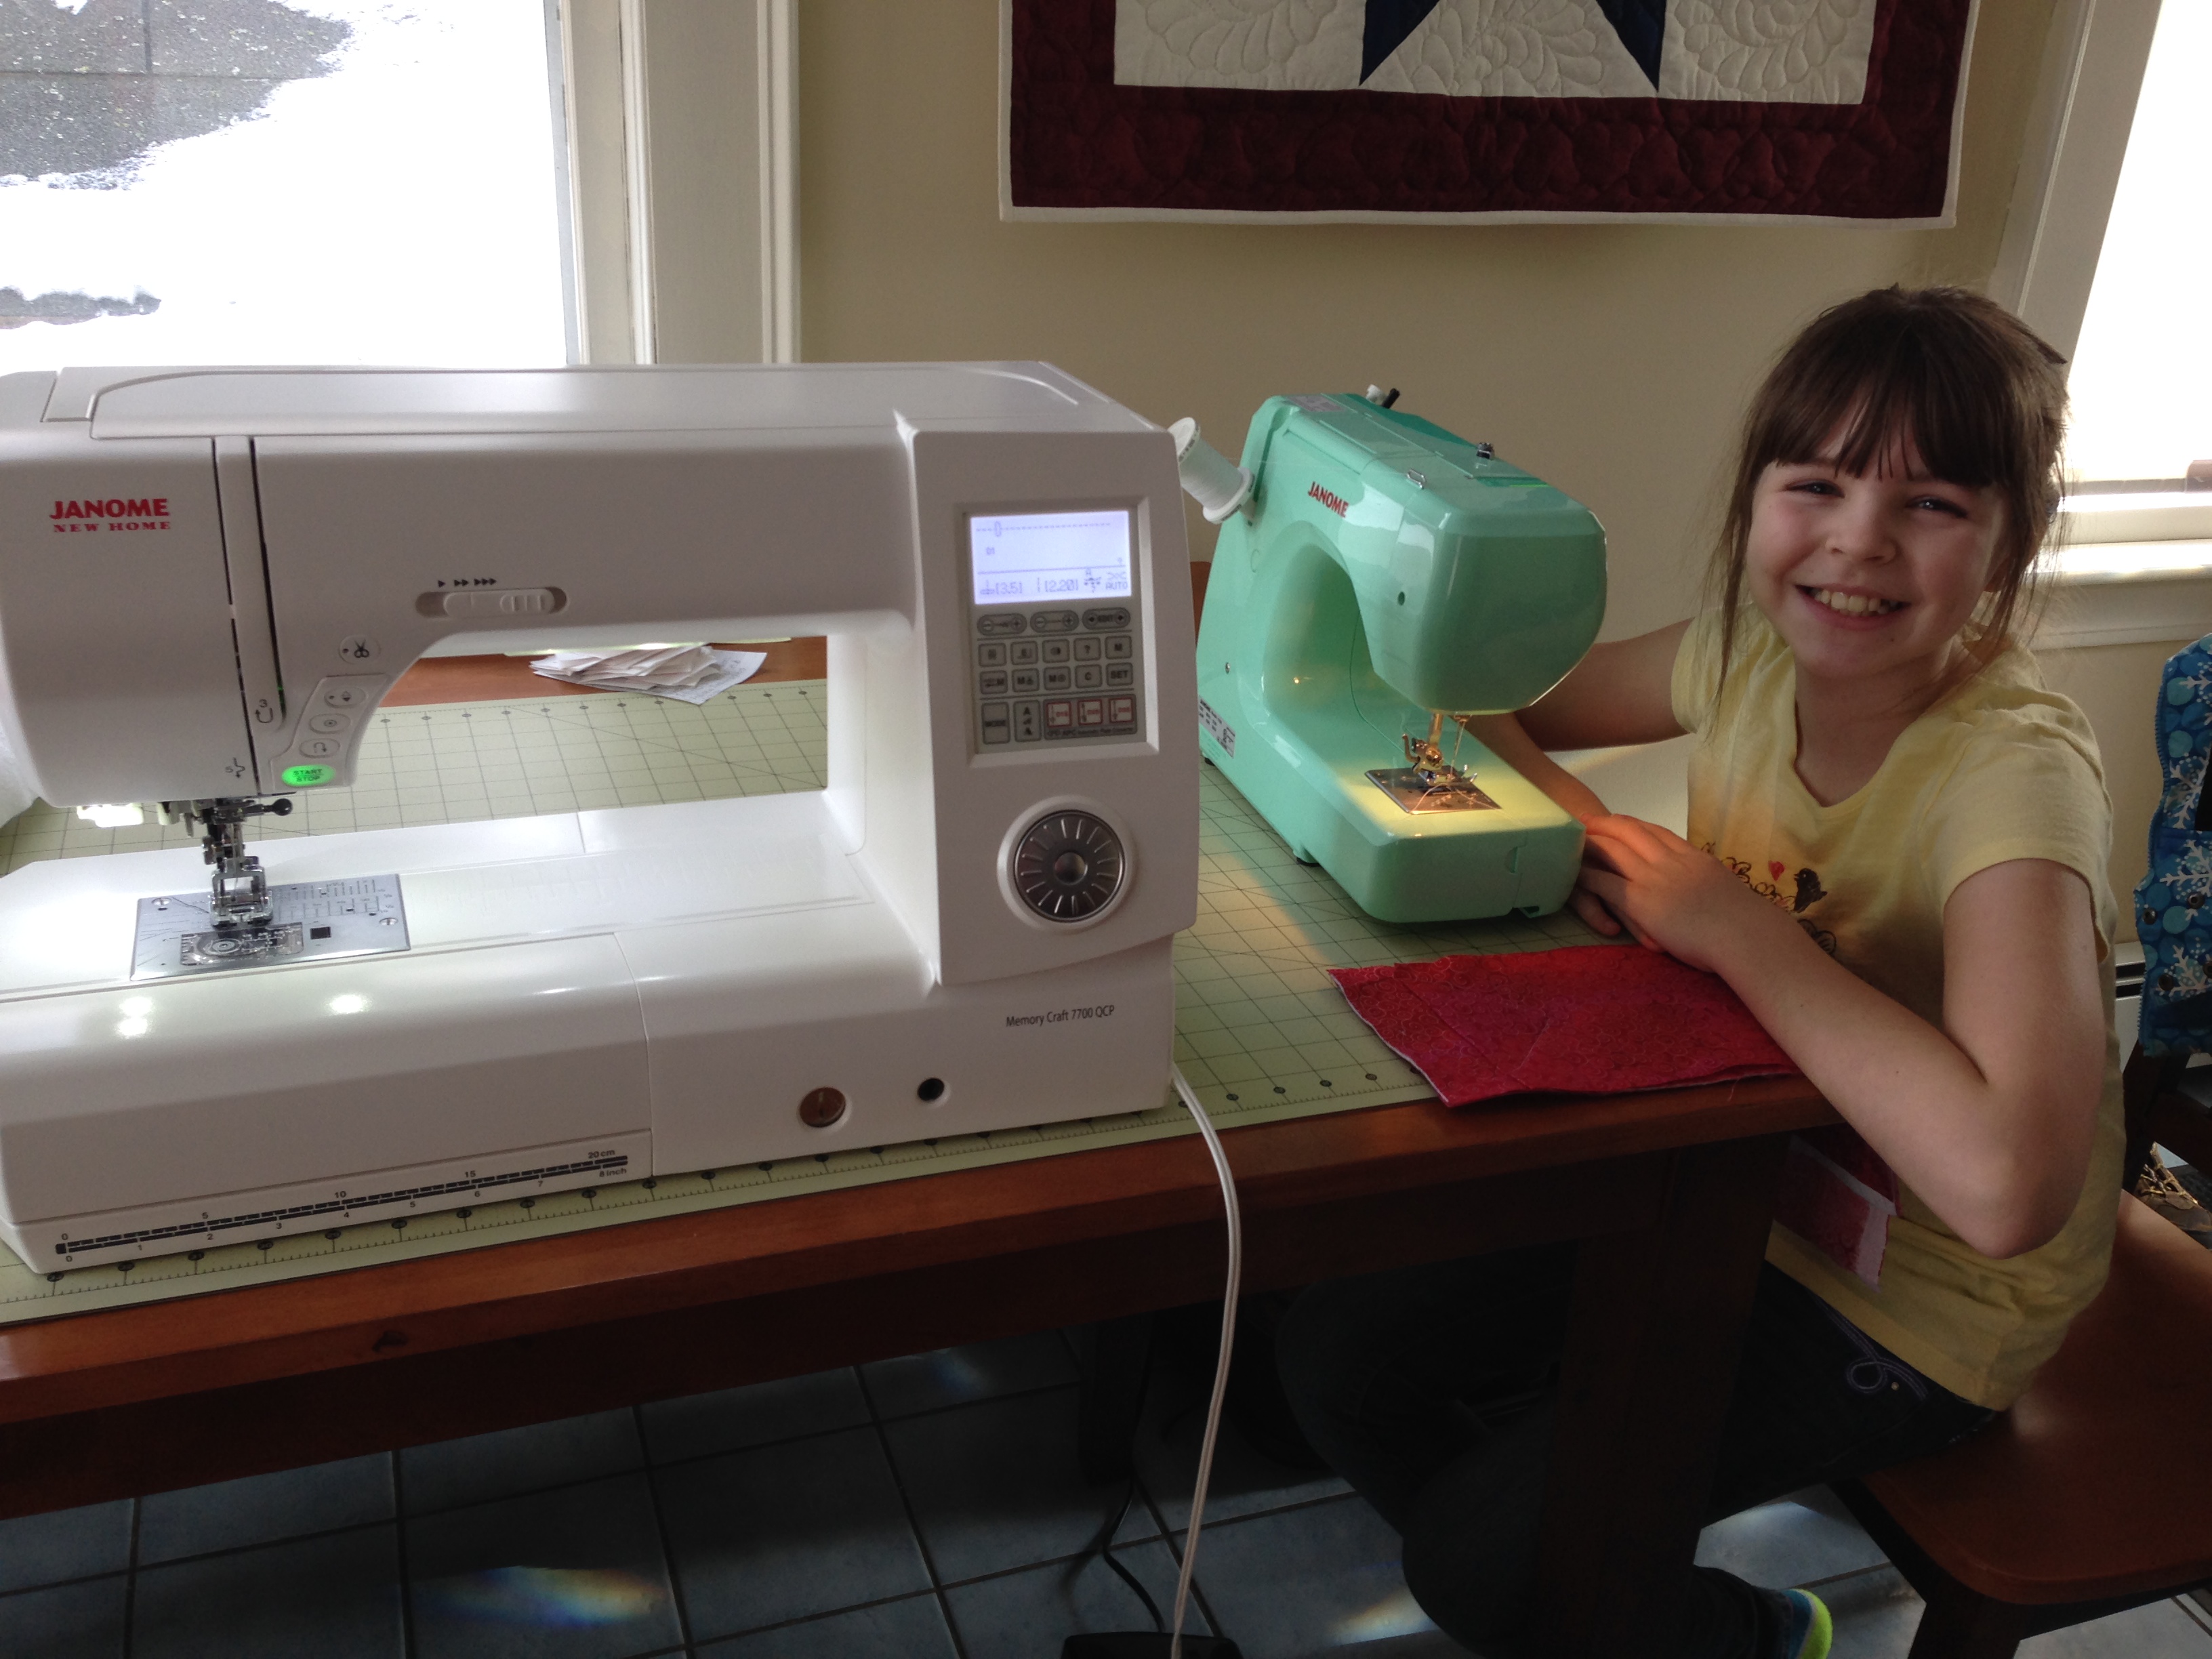
Don’t you just love her little sewing machine?? Adorable, and it works great! Sews a nice straight line! The only thing I wish it had is a drop in bobbin (I always have to look up how to put the bobbin in) and a needle threader… Thankfully her eyes are better than mine and she can thread her own needle :)
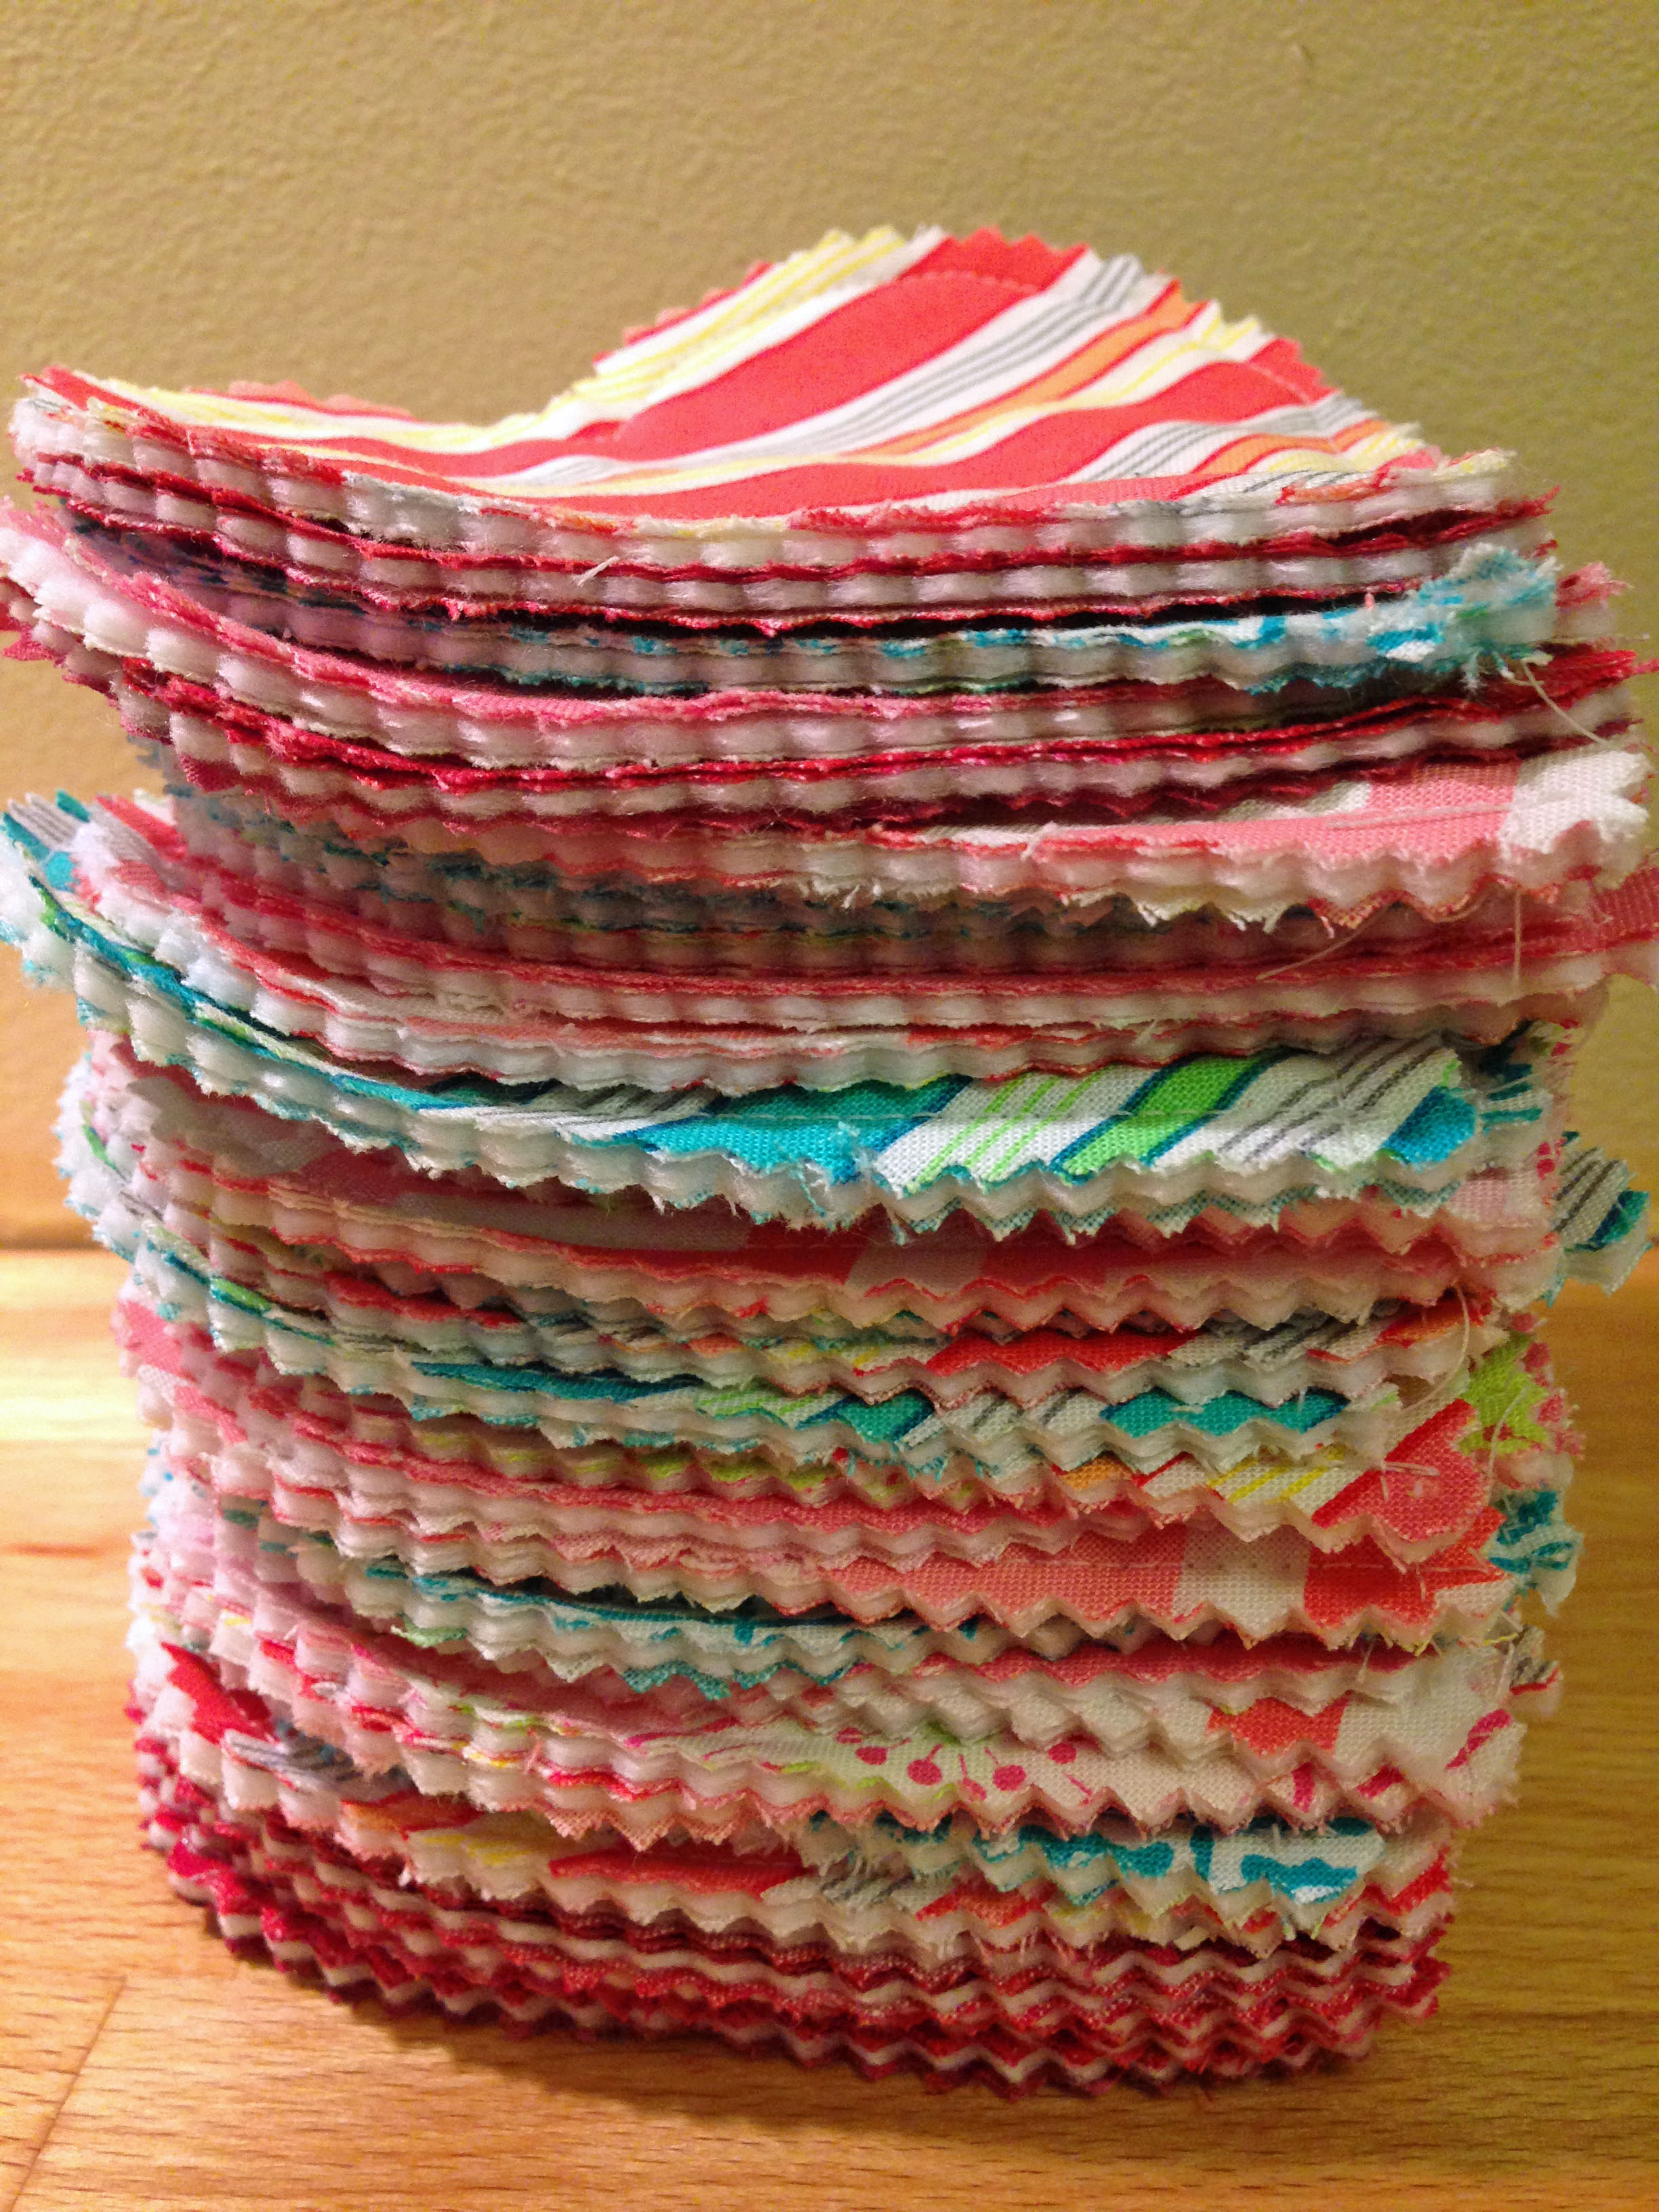
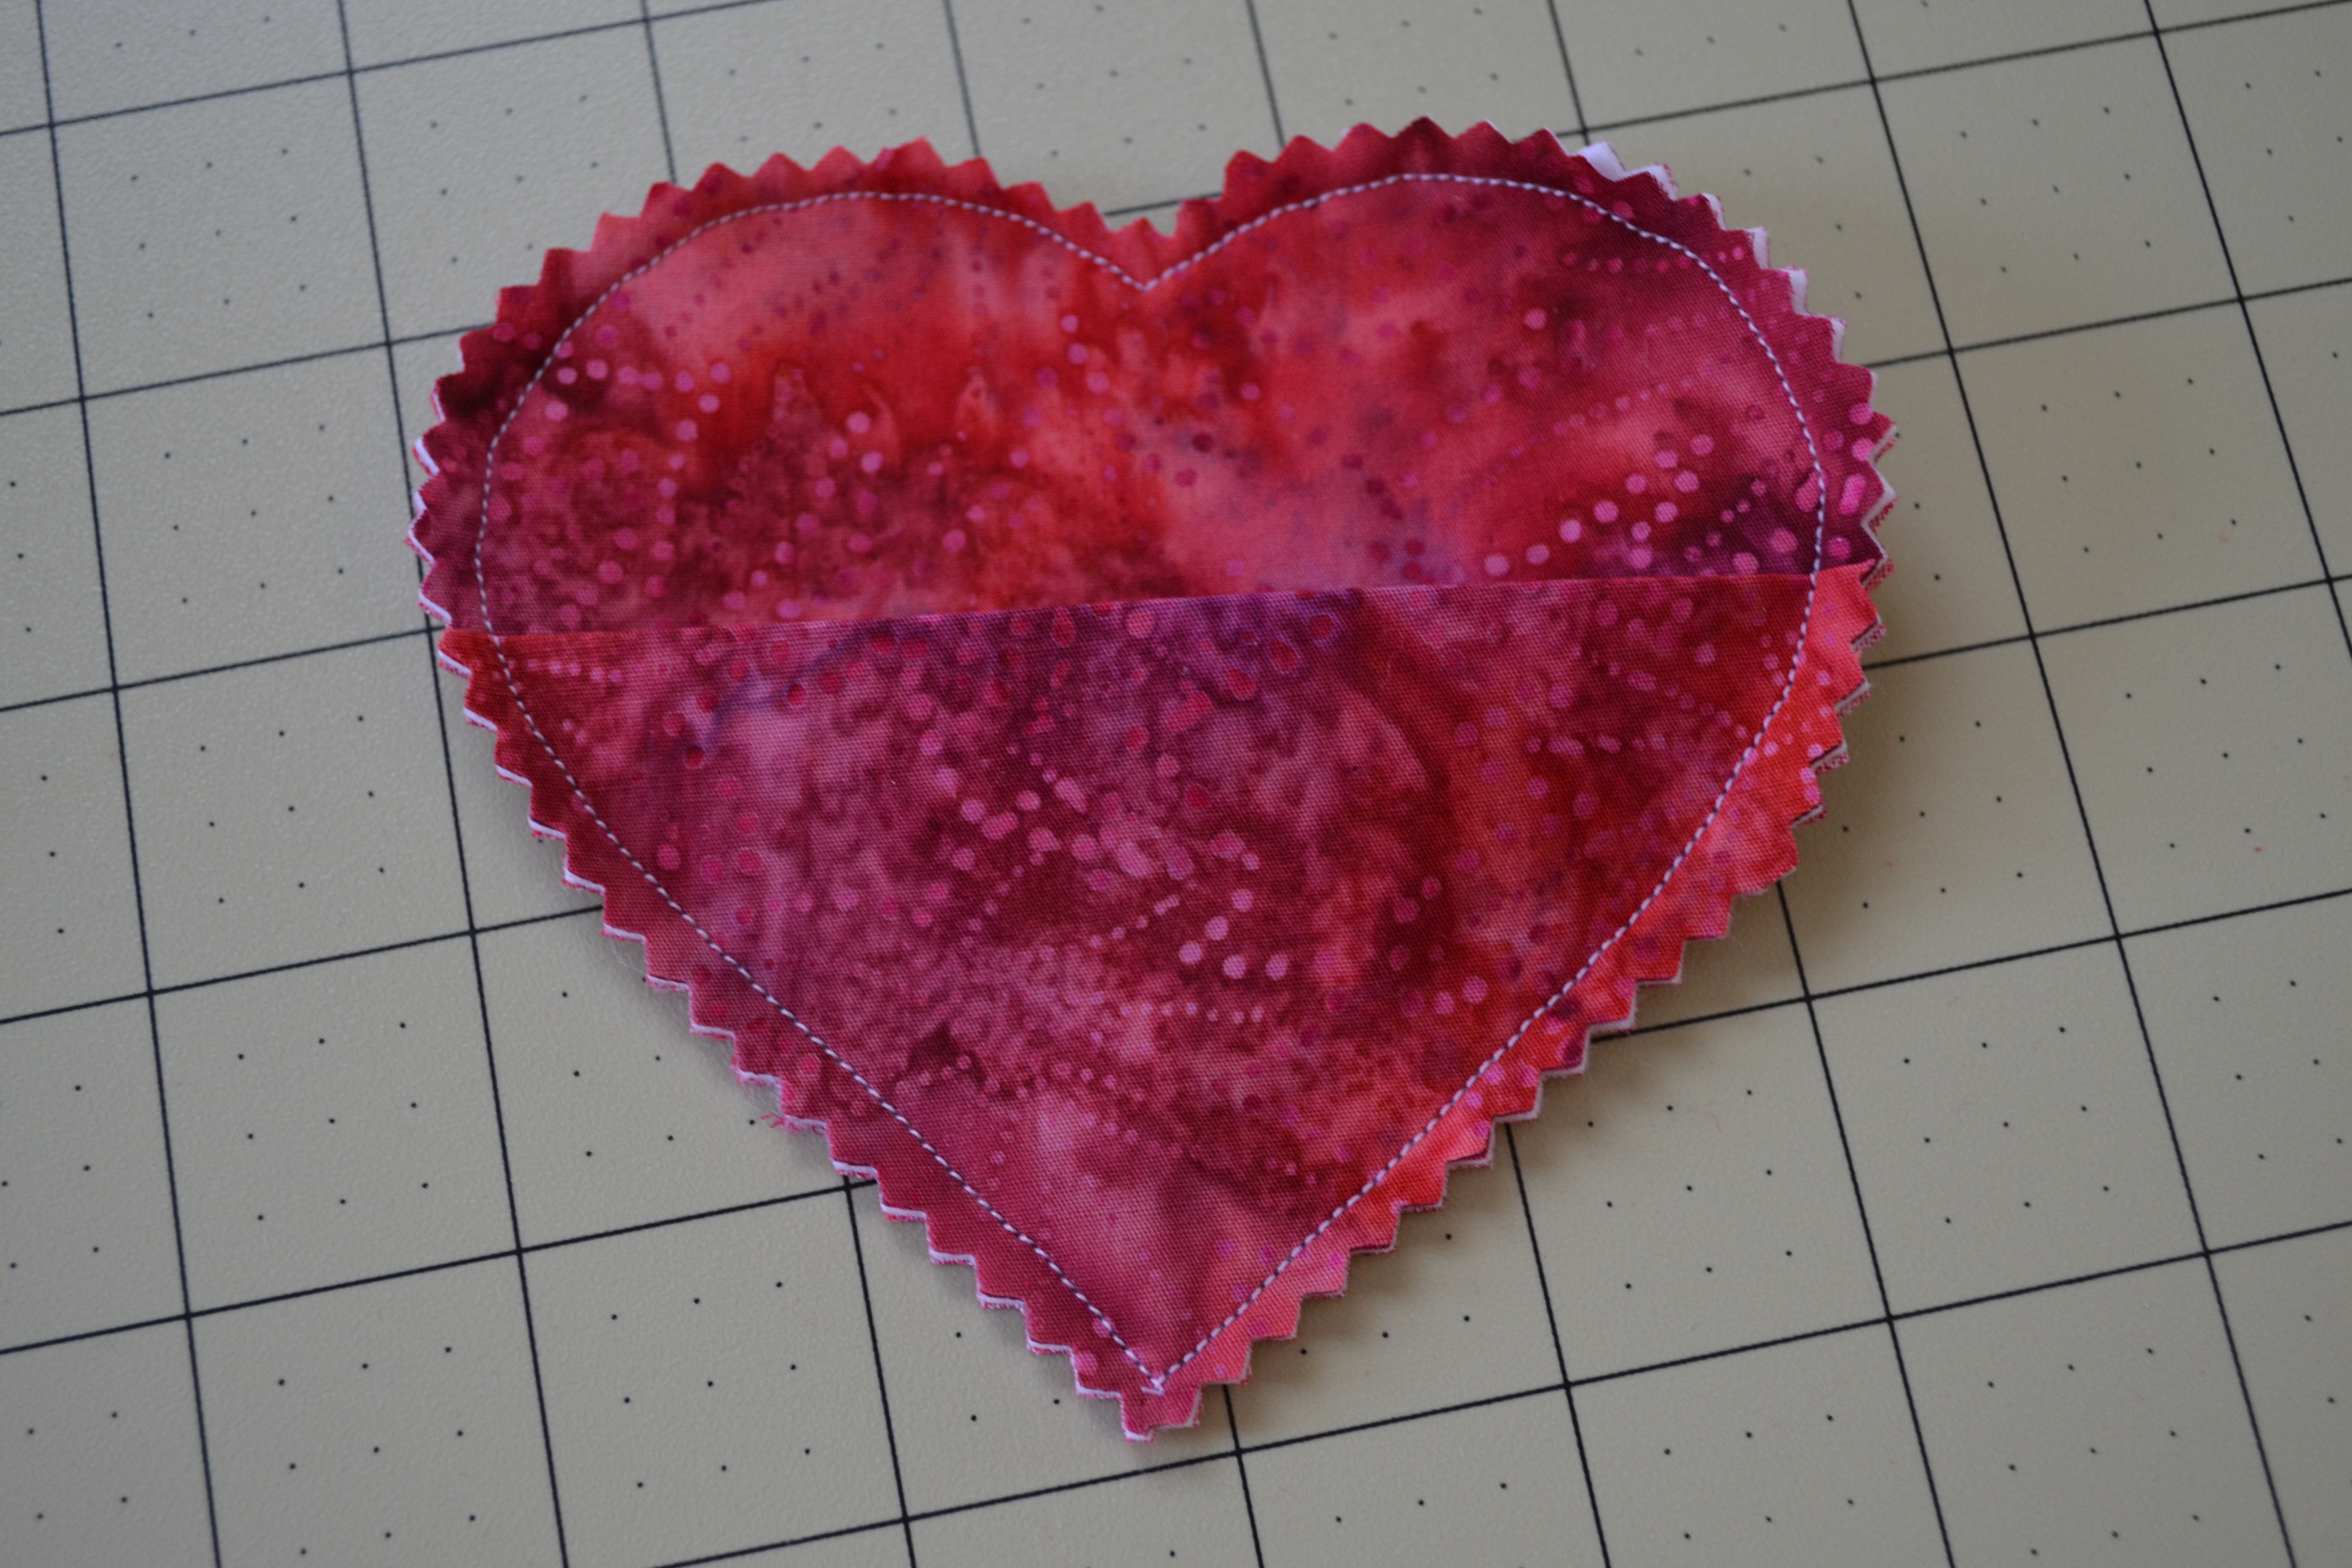
Cut out the hearts using pinking shears… Word to the wise… Don’t make the same mistake I made… just go ahead and splurge on the “good” pinking shears… If you are cutting out 30+ hearts, you will be VERY SORRY you opted for the cheap ones (which, by-the-way, weren’t actually “cheap” they were just less expensive, and when it comes to shears… you DO get what you pay for, in this case, aching hands).
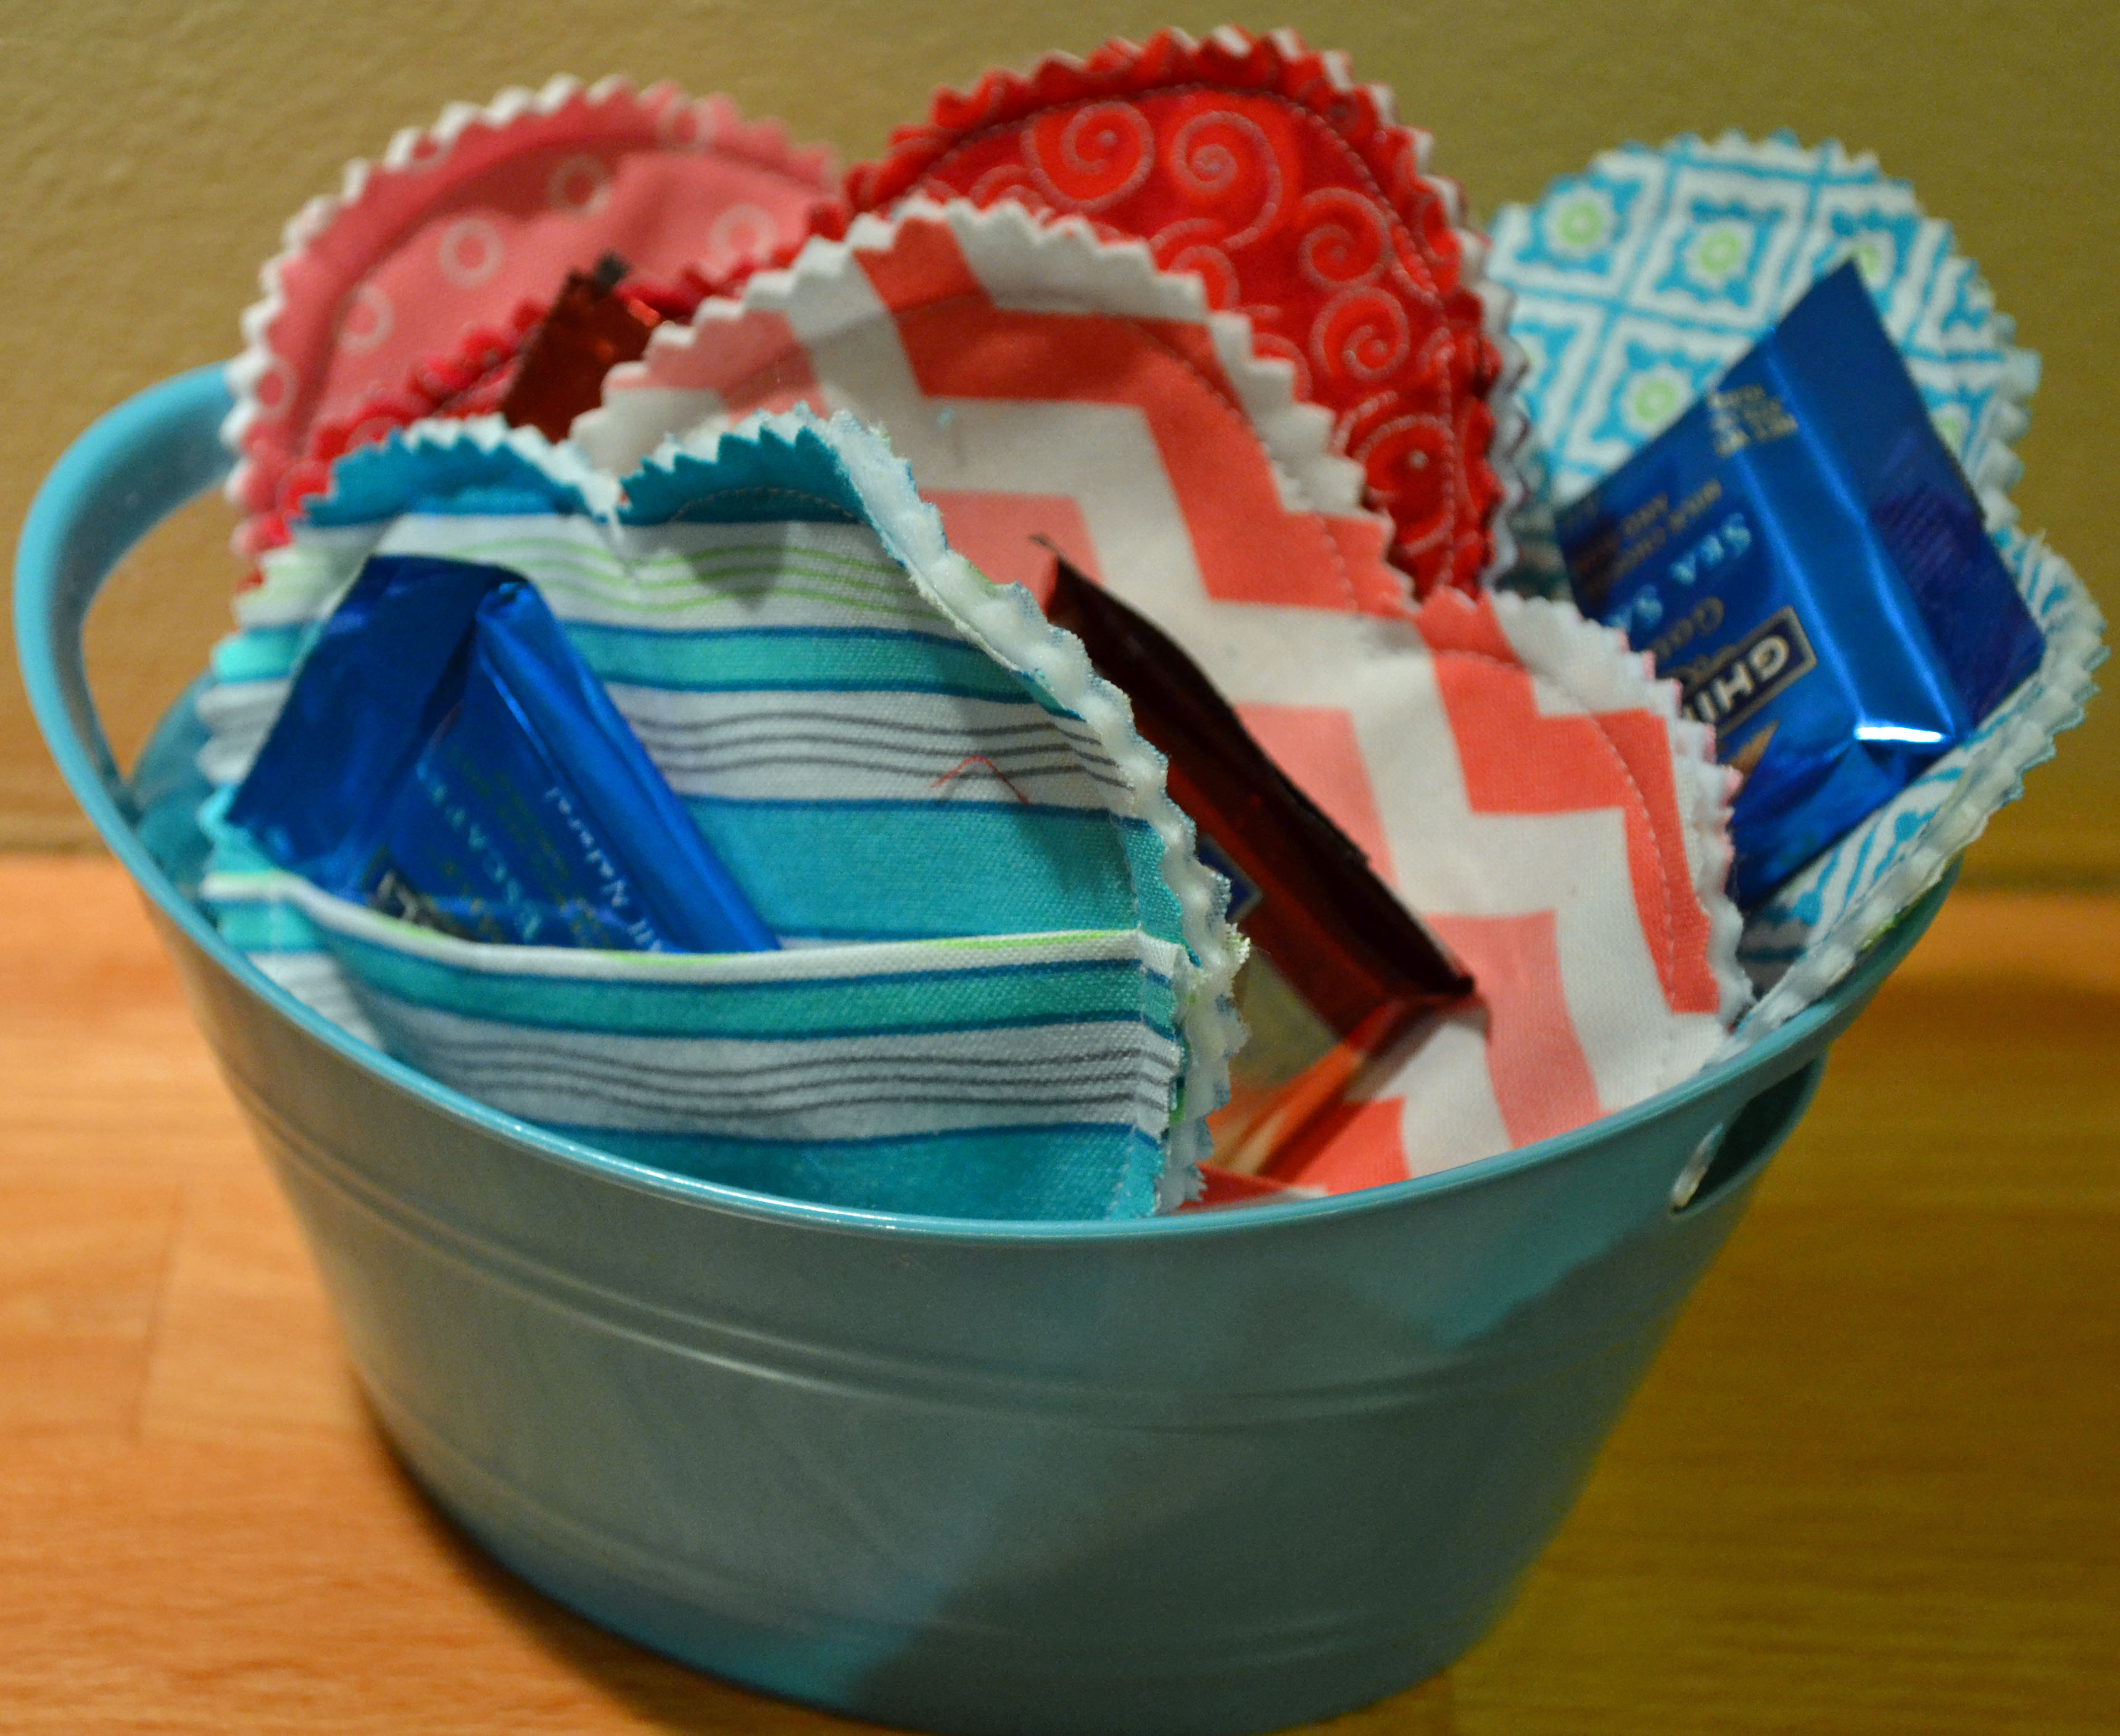
Remove the template, and admire how stinnkin’ cute these are!!! Fill them up with candy or a sweet little note, and you are ready for Valentine’s Day!!
Here’s an in-process shot of the assembly line… I would cut, iron, pin and Kathryn would sew :)
Here’s a little basket of them… I didn’t have Valentine’s candy yet, but these yummy chocolates would do for the picture…
And, the giant stack of afternoon fun!!