JulieK | Embrace the Everyday

  • Twitter
  • Pinterest
  • Instagram
  • Facebook
  • Home
  • About
  • My Shop
  • 52 Fridays
  • Tutorials
  • Link Parties
  • Disclosures
  • June 9, 2026

Sewing Machine Cover with Tool Pockets

May 5, 2015 By JulieK

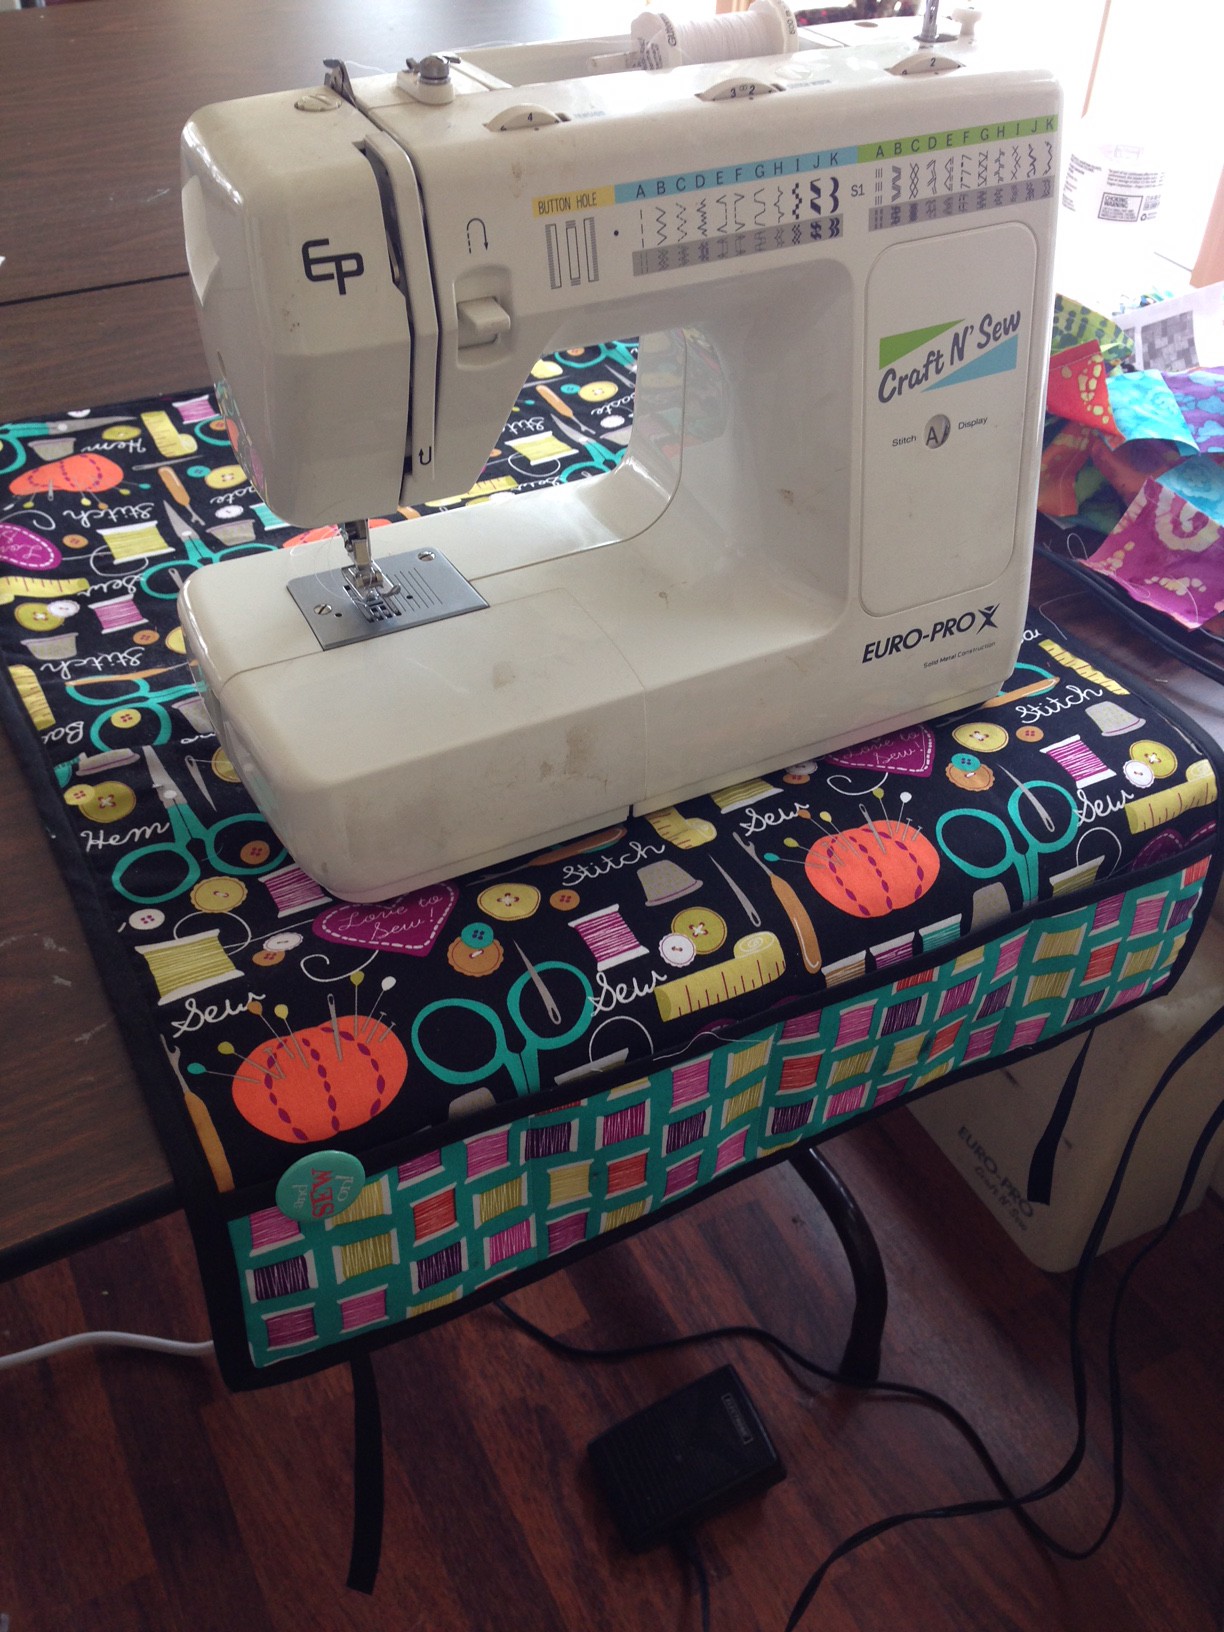
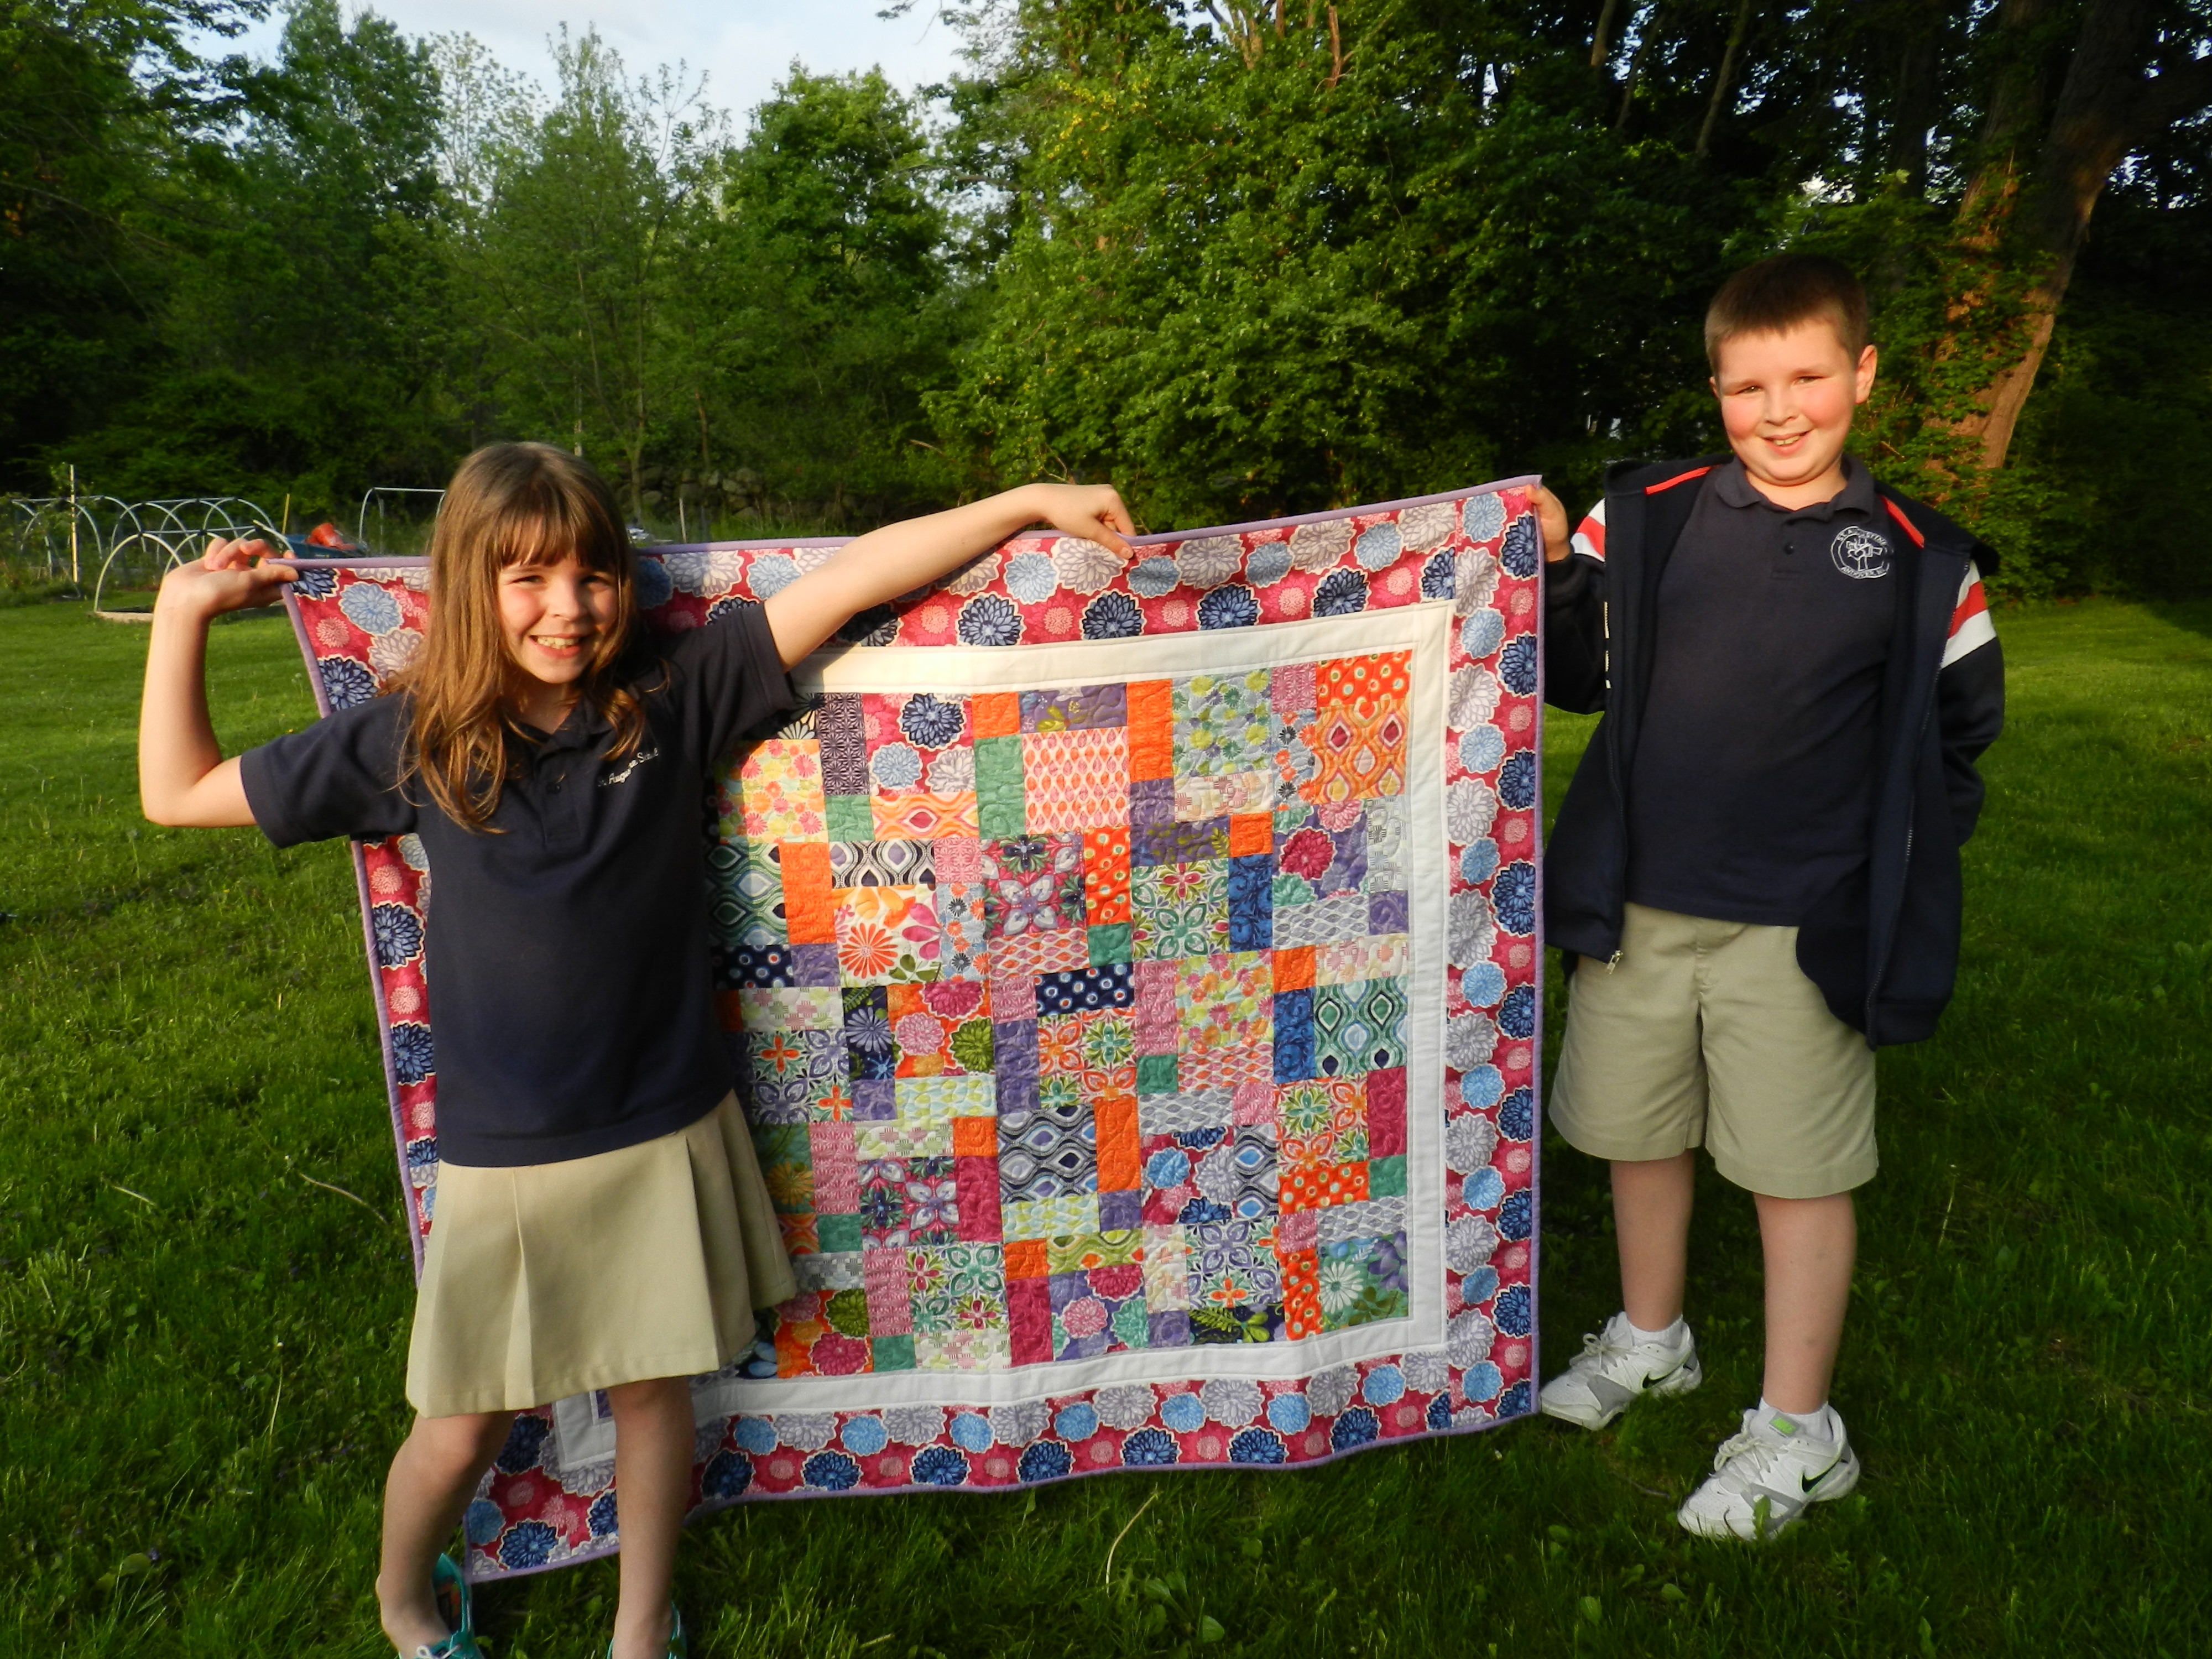
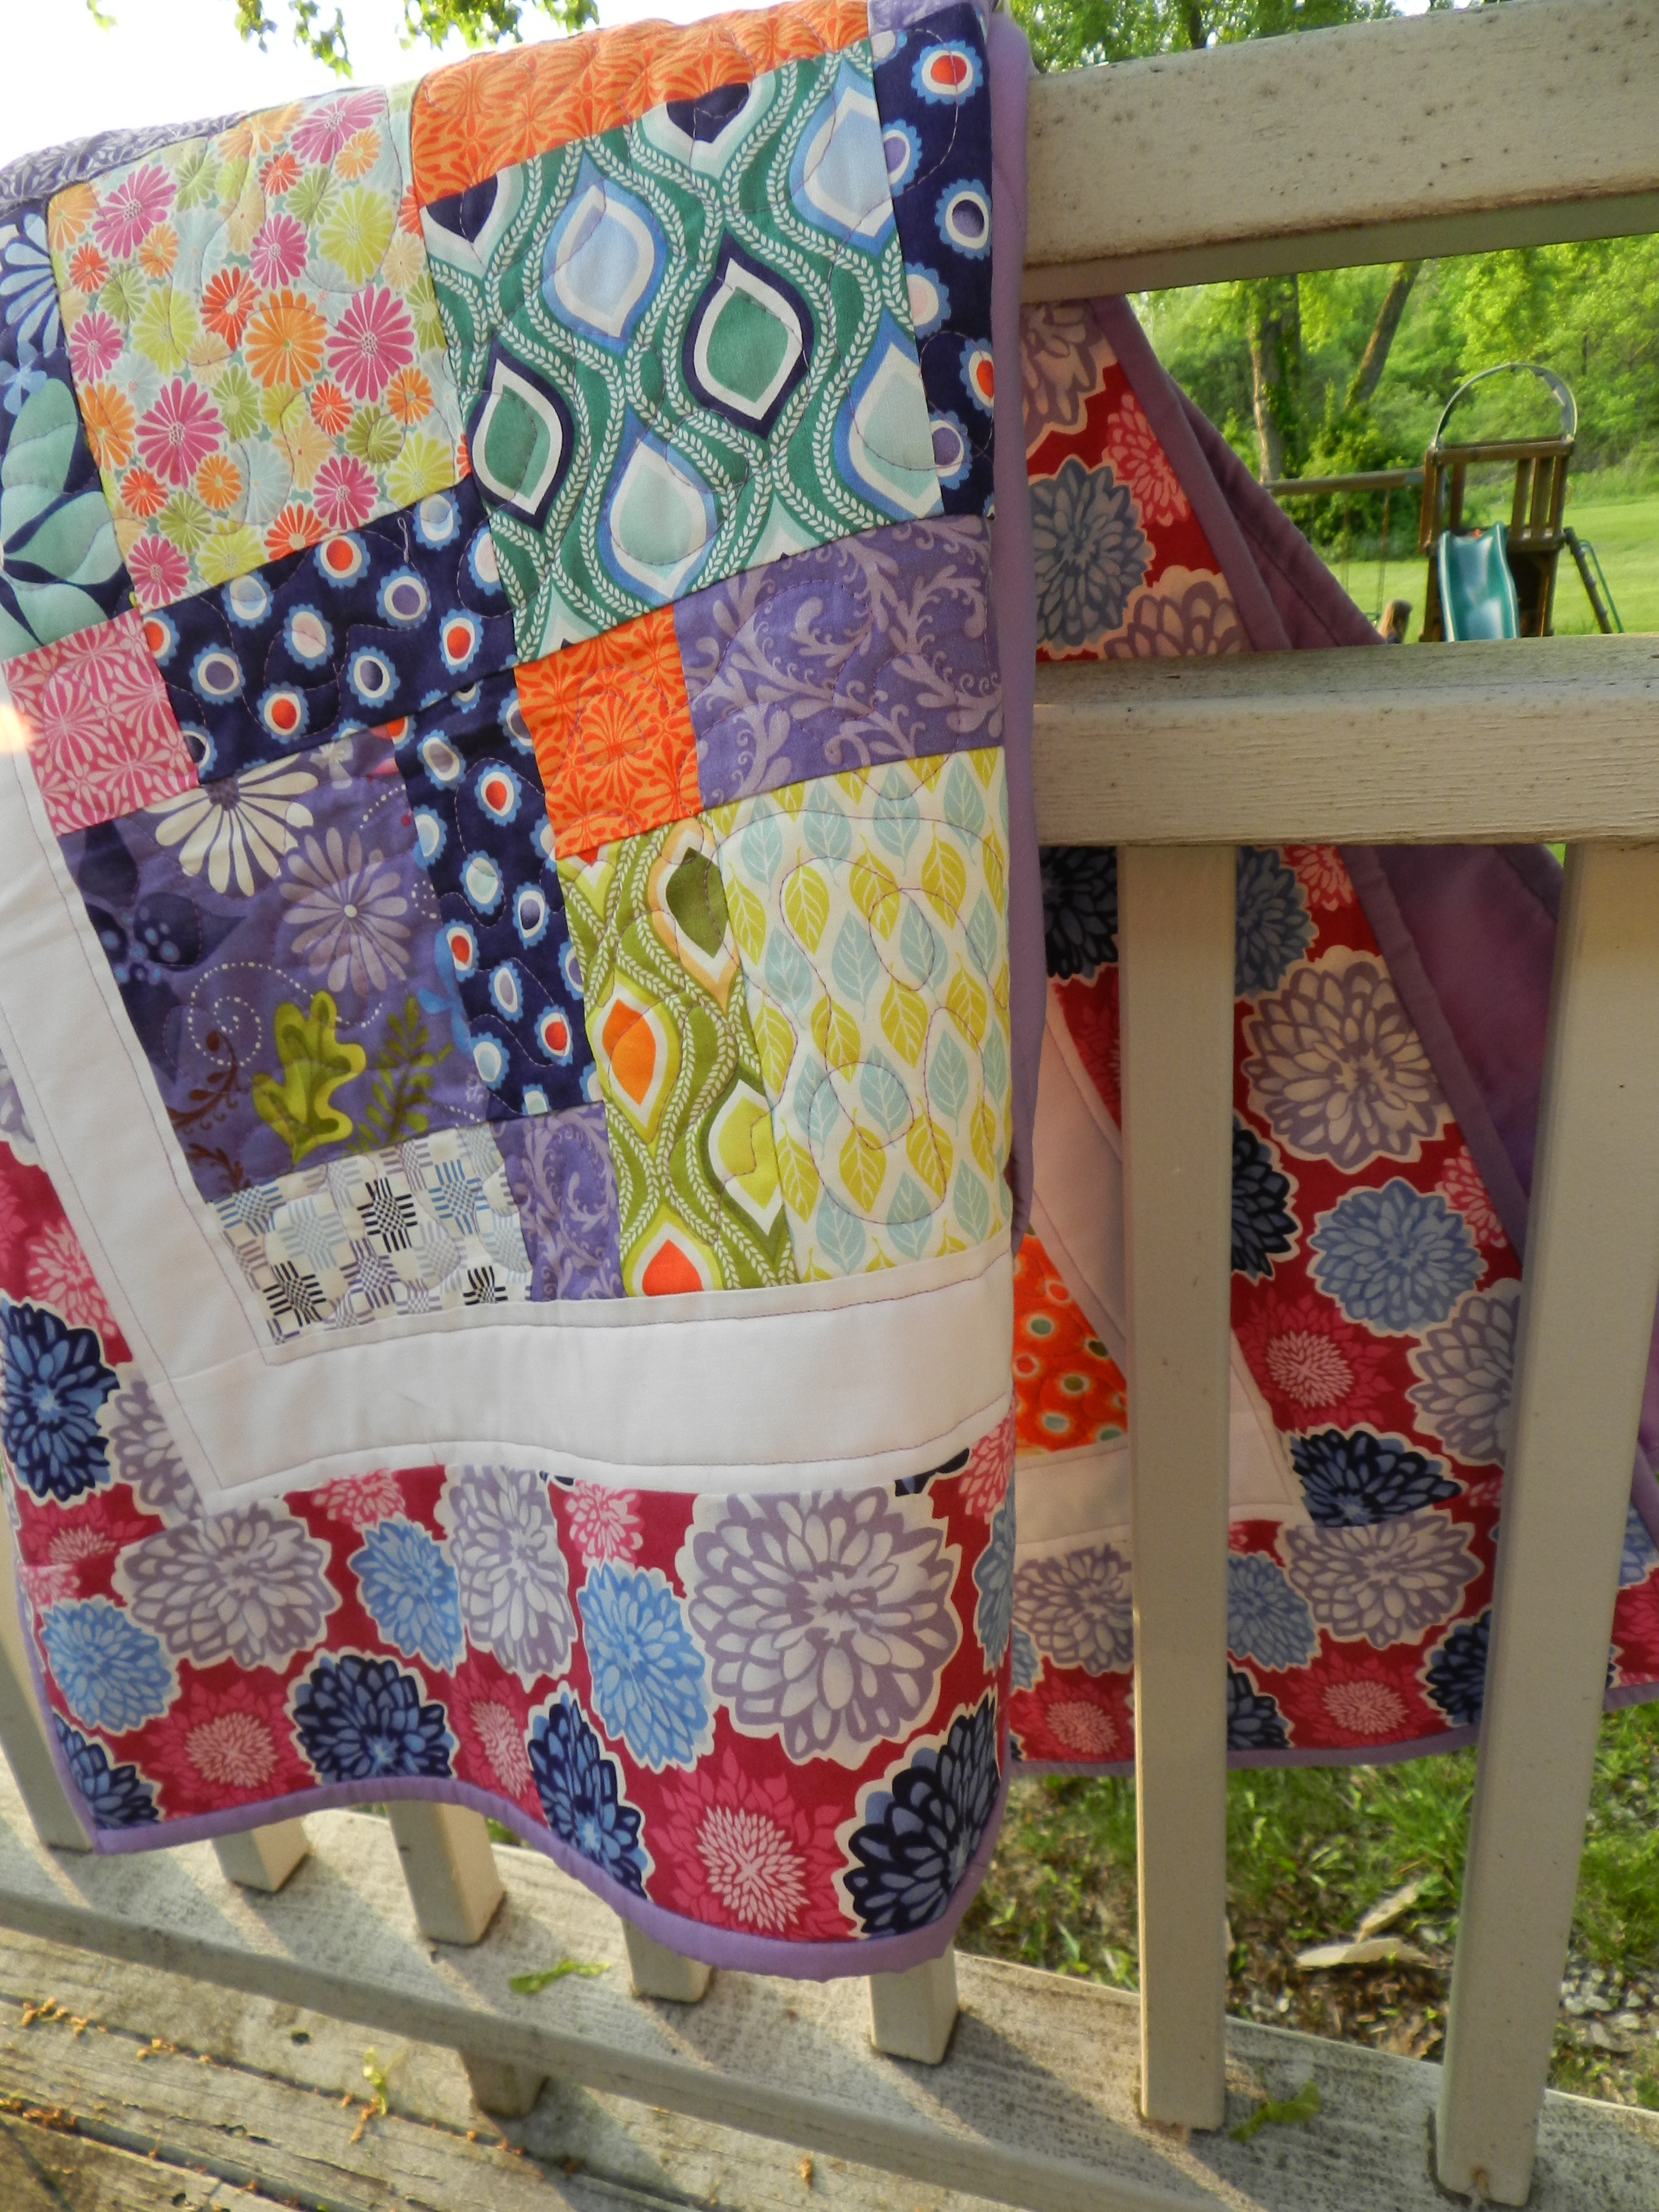
I was very excited to go away on my annual Quilt retreat over February vacation at the AWESOME Strong House Inn. I promise I’ll do a whole post about it, even though it was back in February… It is such a great place to go! This year, my sister came with me (again!! She came last year too), and I really wanted to make her something… I decided to make a sewing machine cover that doubled as a mat that holds the most common tools (like scissors and rotary cutters etc). I was out shopping one day with my friend Ryan and found this ADORABLE sewing fabric at Daley by the Yard (just the cutest store, which we found entirely by accident on our way to a yarn store!)…

This sewing machine cover is one long piece, with bias tape along the whole edge (and a pretty coordinating solid on the back) plus, on the front edge, there’s a 4 inch pocket with varying size pockets. There’s pieces of the bias tape for ties to keep it closed when used as a cover. Plus, you can still keep your tools in the pocket while it’s being used as a cover!

IMG_6530

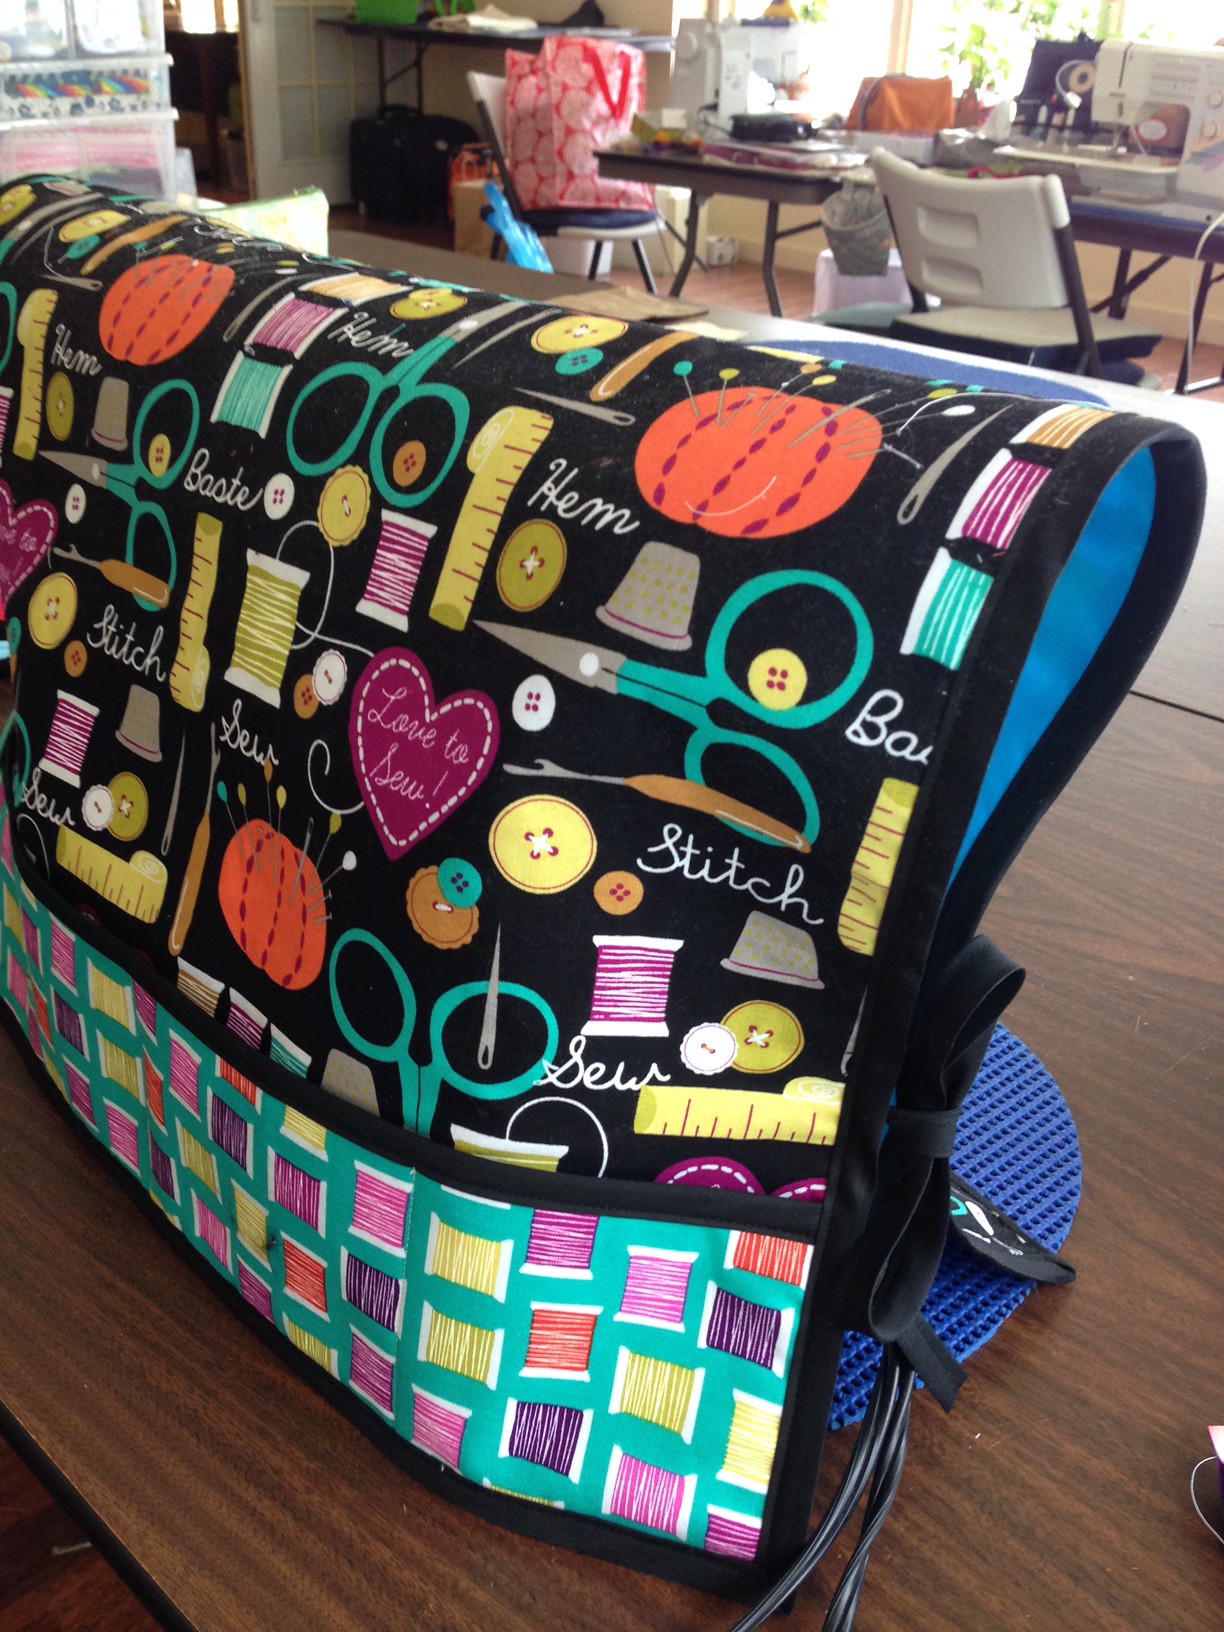
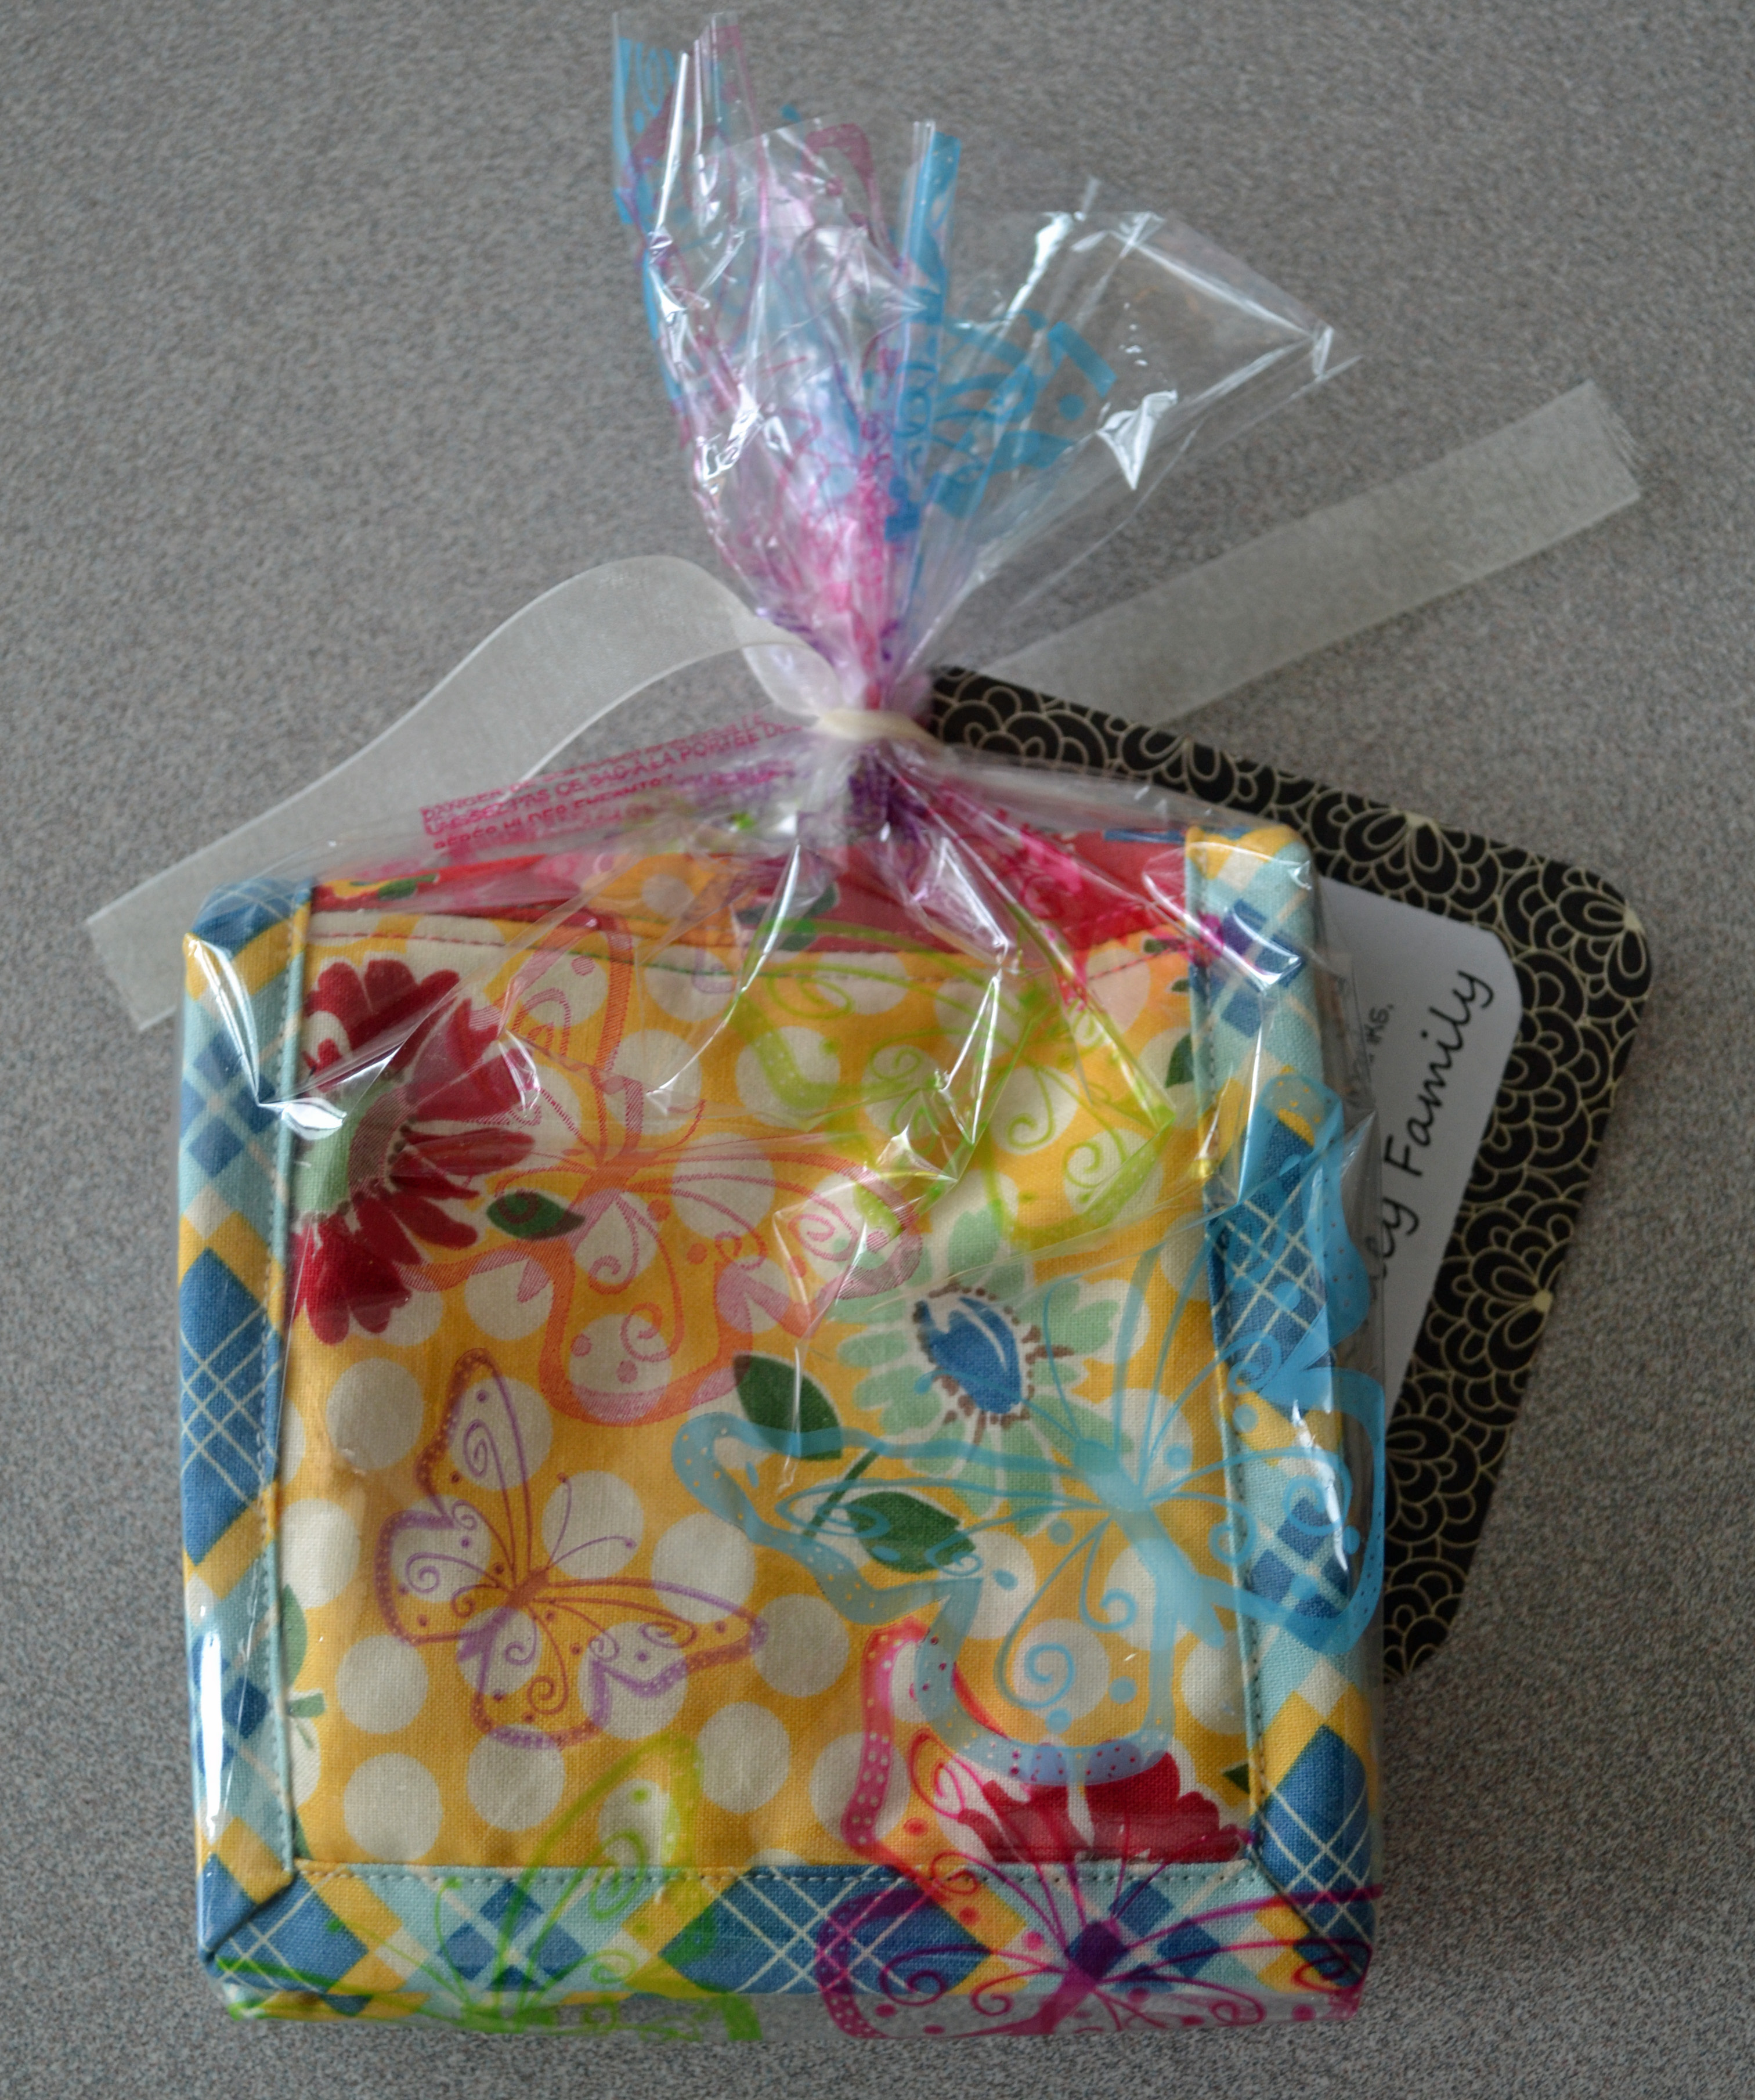
Don’t you LOVE that fabric?

IMG_6528

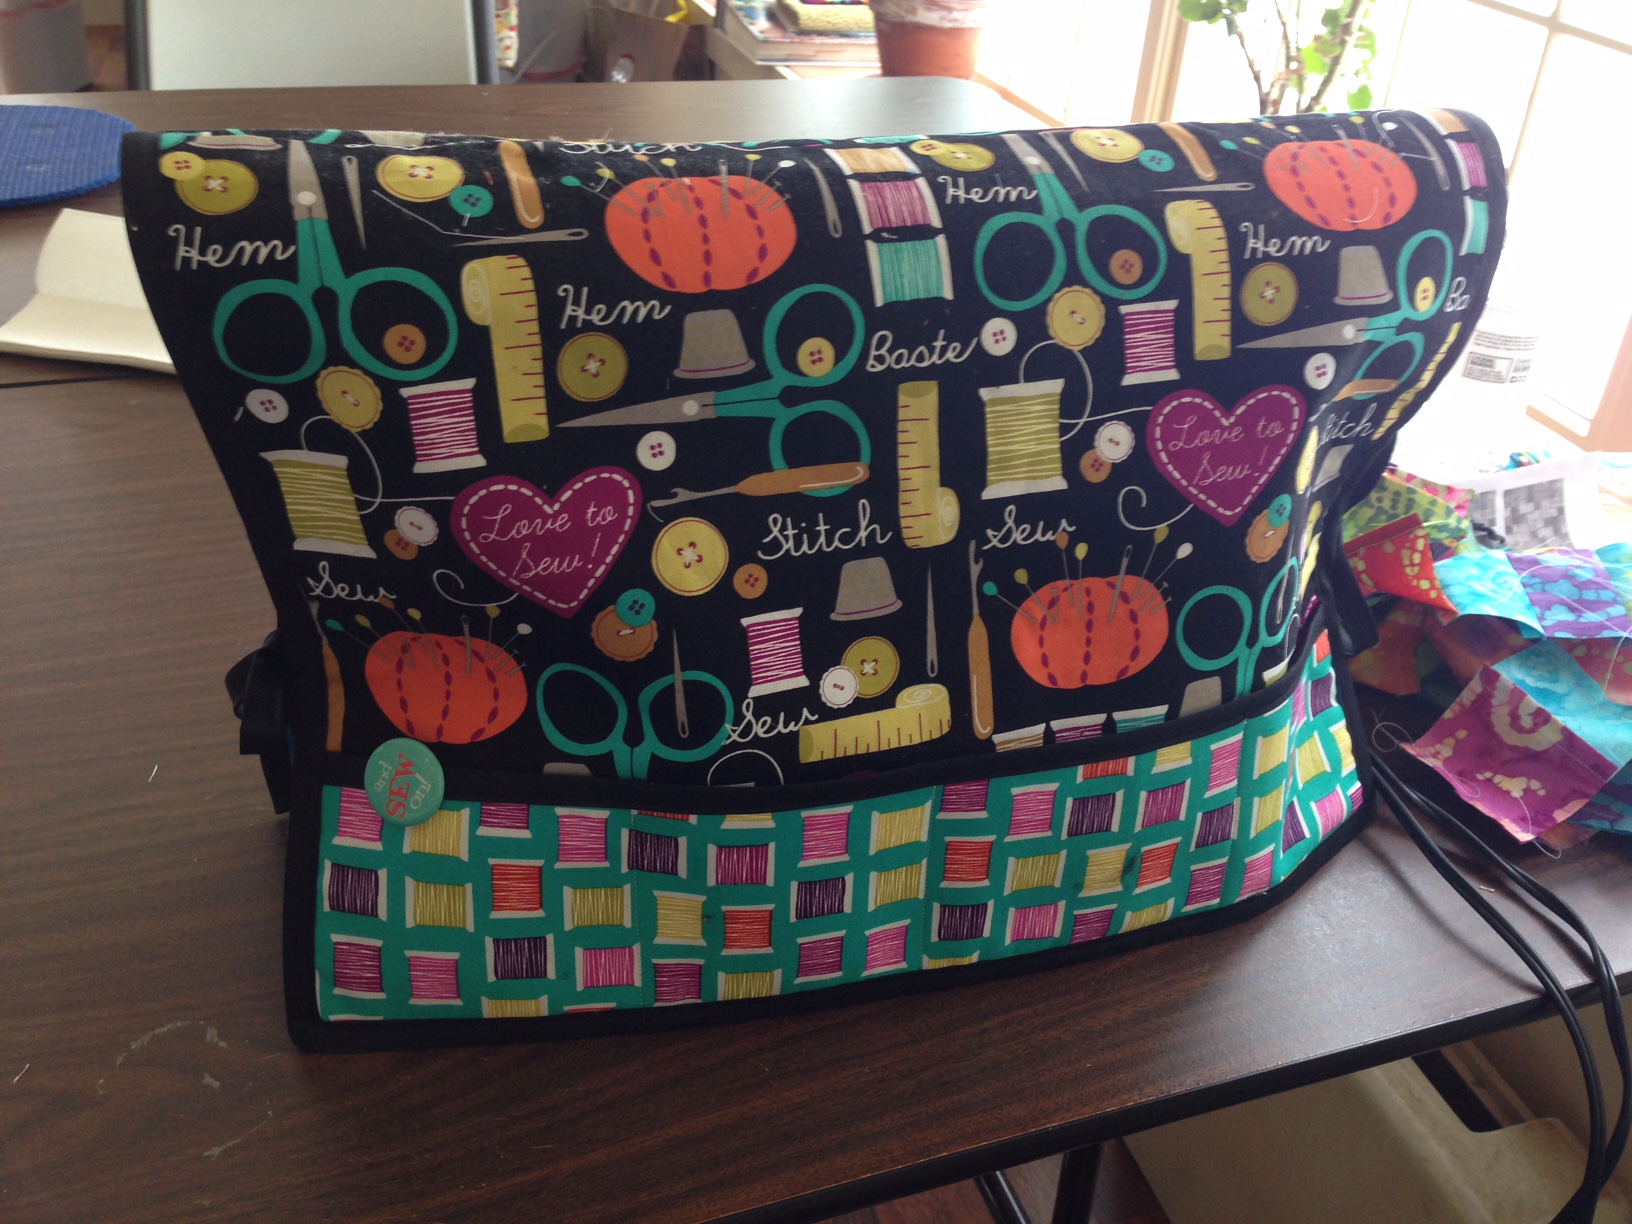
Here it is used as the mat so the machine won’t slip around, and your tools are right where you need them!

IMG_6526

checkinshop

Welcome Baby Quilt

October 13, 2014 By JulieK

This past weekend, Kathryn and I attended the baby shower for one of Mike’s wonderful cousins!! We are so very happy for them and the upcoming arrival of their baby boy! Mom is a marine biologist, so I picked up a Jelly Roll of the adorable Bartholomeow’s Reef fabric and made this little strip quilt. I held some of the strips out (the duplicates) to use as the binding, and Kathryn helped me pick out the fleece backing… I LOVE how it came out, and they loved it as well!! Here’s what it looks like:

A little teaser :) All packed up in the adorable gift bag we found!

TaraQuilt (1)

Kathryn helping me hold up the quilt so I can get a few pictures! Here you can see how big it is… Big crib, almost twin size.

TaraQuilt (3)

A close up of a couple of the fabrics! Love those fishies!!

TaraQuilt (4)

Had Kathryn fold it over so you can see my little tag, and the fabulous fleece on the back!

TaraQuilt (5)

Close up on the fleece, I just want to squeeze it… it’s so FLUFFY!!

TaraQuilt (6)

And here it is folded up :)

TaraQuilt (2)

Kathryn took one of me holding the quilt too!

TaraQuilt (7)

Valentine’s Day Fabric Pocket Heart Tutorial

February 12, 2014 By JulieK

tutorialvalentineSo, my daughter takes after me… Just a little bit :) I was looking at THIS tutorial for mug rugs simply because I like the blog and I’m about to leave for my 5 day quilt retreat and I’m looking at fabric inspiration… I also LOVE mug rugs and Bernatex did a whole week long blog hop with different patterns!! Kathryn is looking over my shoulder…. So, she naturally decides that she “needs” to make stuffed hearts for her class for Valentine’s Day… ’cause you know, you can’t BUY Valentines like everyone else… No, we HAVE to make them… Of course, it would certainly not be good enough to make little stuffed hearts… No, I have the “brilliant” idea that we’ll make little stuffed hearts with pockets!!! Yes, yes, that’s brilliant!!! Little hearts with pockets that we can stuff with candies!!! ’cause, you know, we have nothing else to do this week :) Instead of cleaning the kitchen, we’ll haul both our sewing machines, cutting mats, fabric, iron, ironing board and all the other fun stuff we can craft with and totally mess up the kitchen :) Clean kitchen tables are overrated :)

In other words, we really know how to have a good time on a Sunday afternoon :)

2014-02-09 12.29.56

Saturday, we went to our favorite fabric store (Bits and Pieces in Pelham, NH), and Kathryn picked out fabrics to use (fat quarters in various colors) and I got some fusible batting to use. You could use anything for the “stuffing” but where Kathryn was going to do a lot of the sewing I thought it would easier for her if we didn’t have the batting moving around while she was trying to sew around those curves.

These adorable pocket hearts were actually very easy to make… I did all the ironing and cutting, and Kathryn did most of the sewing herself. I thought it would be fun to make up a little tutorial and took some pictures as we went along.

Materials:

  • Fat Quarters, or scraps of fabric each pocket heart used 3 pieces of fabric about 5.5″ square.
  • Batting-we used fusible, but you could use anything that you had on hand, including just fleece, you just need something to give them a little stability.
  • Thread-we just used white, but you could use coordinating colors for the fabric you choose.
  • Cutting tools-rotary cutter/scissors and pinking shears.
  • Candy and/or little notes to put in the pocket.
  • Heart template (I used the printable template from THIS mugrug tutorial, but you could certainly make your own, or just freehand sew them. Again, with the 10 year old doing the bulk of the stitching, I opted for printed templates :)


Steps (we made them assembly-line style):

  1. Cut your fabric into strips of 5.5″ You need 3 strips to make each group of hearts. We used one fabric for the back, and a different fabric for the front and pocket.

step1


2. Layer your strips, back fabric right side DOWN, batting, front fabric right side UP (I know it’s obvious, but line yours up, the picture is so you can see all the layers :)

step2


3. take the piece you want to use for the pocket and iron over a 1/4″ (to hide the raw edge on the finished heart) no need to measure, close enough is good enough.

step3


Lay the folded and ironed pocket piece on top of the quilt sandwich you already have and place the folded edge where you want the pocket to be (I marked the templates to make it easier to line them up)

step4

Pin through all the layers

step5


Carefully stitch around the outline of the template, it doesn’t need to be exact. You don’t want to stitch on the paper, and you don’t want to go too far out…

step6


Don’t you just love her little sewing machine?? Adorable, and it works great! Sews a nice straight line! The only thing I wish it had is a drop in bobbin (I always have to look up how to put the bobbin in) and a needle threader… Thankfully her eyes are better than mine and she can thread her own needle :)

step6a


Cut out the hearts using pinking shears… Word to the wise… Don’t make the same mistake I made… just go ahead and splurge on the “good” pinking shears… If you are cutting out 30+ hearts, you will be VERY SORRY you opted for the cheap ones (which, by-the-way, weren’t actually “cheap” they were just less expensive, and when it comes to shears… you DO get what you pay for, in this case, aching hands).

step7


Remove the template, and admire how stinnkin’ cute these are!!! Fill them up with candy or a sweet little note, and you are ready for Valentine’s Day!!


step8


Here’s an in-process shot of the assembly line… I would cut, iron, pin and Kathryn would sew :)

step9


Here’s a little basket of them… I didn’t have Valentine’s candy yet, but these yummy chocolates would do for the picture…

step10


And, the giant stack of afternoon fun!!

step11


End of Year Teacher Gifts

June 15, 2013 By JulieK

You know how much I love to make things :) the end of the school year is no exception!! It is no secret that I LOVE the school that the kids go to… And, I LOVE, LOVE, LOVE the teachers there!! So, every year, at least at Christmas and the end of the year, I try to let them know how much I appreciate them with a little something that I make…

Last Year’s Kids’ Gifts

2011 Teacher Gifts

Well, this year I made Mug Rugs!! What’s a mug rug you ask? It’s also called a snack mat, and here’s the little tags that I made to accompany the mats so that the teachers know what they are too :) I found an explanation on Pinterest to explain what mug rugs are, made tags using MS Word, cut them out and attached them to some pretty paper (Fancy Pants) and added a piece of ribbon to close the bags.

JulieK, Julie Kelley, Mug Rug, Snack Mat, Teacher Gift, end of year gift

JulieK, Julie Kelley, Mug Rug, Snack Mat, Teacher Gift, end of year gift

Here’s the stack of mats before I bagged them and got them ready to be gifts.  The fabrics are from the School Days line by American Jane for Moda fabrics… I love how they came out… Amazing how easy it is to make super cute little gifts with a charm pack and jelly roll! Here’s the stack of them… Front

JulieK, Julie Kelley, Mug Rug, Snack Mat, Teacher Gift, end of year gift

and the back

JulieK, Julie Kelley, Mug Rug, Snack Mat, Teacher Gift, end of year gift

I made one for each of the teachers that the kids have, including all the specialists (I’m a specialist teacher myself :) I know how hard they work too!)… Plus the main office staff and principal and asst. principal.  16 mats in all. Here’s a close up of one of them, they are all different…

JulieK, Julie Kelley, Mug Rug, Snack Mat, Teacher Gift, end of year gift

and a close up of the back

JulieK, Julie Kelley, Mug Rug, Snack Mat, Teacher Gift, end of year gift

The mats measure about 5″x10″ For the kids main teachers, I made a mat, but found these pretty stoneware teacups and saucers, put the mug rug, some fancy teas and a Starbucks gift card in the cups and packaged them up.

JulieK, Julie Kelley, Mug Rug, Snack Mat, Teacher Gift, end of year gift

Here’s the single ones packed up

JulieK, Julie Kelley, Mug Rug, Snack Mat, Teacher Gift, end of year gift

JulieK, Julie Kelley, Mug Rug, Snack Mat, Teacher Gift, end of year gift

I’m pretty happy with how they came out, and hope that the teachers like them.

Happy Summer!!!

The “Kaitlyn” Quilt

June 7, 2013 By JulieK

I have to tell you… I’ve been hoarding this fabric… It’s the Terrain line from Kate Spain for Moda fabrics… I loved it the instant I saw it (almost 2 years ago I think), and bought 2 charm packs, and maybe a jelly roll too… But then couldn’t use it ’cause it needed to be used for the perfect quilt.  Well, my beautiful niece Kaitlyn graduated this spring with an esthetician license and I just knew that it would be perfect for her!! I pieced the center when I went away to my quilting retreat in February, and then the week of her graduation I added the borders and quilted it… I think it’s beautiful (it’s only the second quilt that I’ve quilted myself… so don’t look TOO close at the back :), and even better, she loved it!! Here’s a few pictures of it that I took just before I sent it to her… (click on the pictures to see them bigger)

Notice the little helpers feet behind :)

JulieK, Julie Kelley, Quilting, Moda

Of course, the helpers needed to have their pictures taken with the quilt! Pat and Vanna at work :)

JulieK, Julie Kelley, Quilting, Moda

A view of the back… (don’t look too close :)

JulieK, Julie Kelley, Quilting, Moda


And a couple of closer shots…

JulieK, Julie Kelley, Quilting, Moda

JulieK, Julie Kelley, Quilting, Moda

JulieK, Julie Kelley, Quilting, Moda

JulieK, Julie Kelley, Quilting, Moda

I’m so glad that she loved it, and I’m so proud of her!! Not only did she graduate from her program, took the test and got her license, but she also got a job working at a spa!! The quilt pattern I used is the Missouri Star Quilt Company Disappearing 9 patch pattern… I’ve used this pattern before on the baby quilt and a couple others… You can find the video tutorial HERE. Thanks so much for taking a peek!!


Next Page »
Tewksbury Honey

Google

Follow
Follow

Craftsy

Quilting Supplies at Craftsy.com

Creative Commons License

Creative Commons License
This work is licensed under a Creative Commons Attribution-NonCommercial-NoDerivs 3.0 Unported License.

Check out Tewksbury Honey

Tewksbury Honey

Categories

Instagram

My Latest photos

    June 2026
    M T W T F S S
    1234567
    891011121314
    15161718192021
    22232425262728
    2930  
    « Dec    

    Copyright © 2026 · Delightful theme by Restored 316

    Copyright © 2026 · Log in